
Initial terrain placement
Jason had been posting on Facebook several weeks before the game that he was experimenting with Ilkhanid Mongul (#255), so when we later organised a game I assumed that I would be facing lots of cavalry with bows. My strategy could either be to hang back and hope for a draw or move forward and try to bottle him up (more likely to lose but more interesting along the way).
My army list didn't really work last time, but everyone from Phil Barker in his 1975 Airfix Guide to others in recent Flames of War blogs talks about the importance of learning your army rather than chopping and changing. Looking at my previous list, my spearmen would be useful against cavalry, whilst my elephant/medium command would have the extra movement to help bottle up the opponent.
As such the only change from my last game was to swap out one elephant and one LI for one unit of impetuous MI Gallic Warriors and one LMI. The impetuous MI was because I thought it was about time I learnt how to use impetuous troops, though I left the Spanish MI as Impact because I thought I might need the easier control on the flanks of the command. The only other change in my list was to move some units between commands, moving the two mounted from the spearmen command to the elephant command which I would plan to use on a flank.
This gave me a central command with 6 HI Spearmen. The forums suggested using 6 of anything in a block is probably a mistake, but I didn't want to use impetuous HI swordsmen and my MI were concentrated in the elephant command.
Having learnt from my last game I though about terrain ahead of the game, though I only really considered Plain. This would allow three Fields, which being rough going would hamper his cavalry but would suit my medium/elephant command. I thus trimmed down three of my Flames of War fields to the legal size of ADLG 200 pts games. I also had a plan that I would try for a river or coastal zone to restrict the board size against the Monguls.
All prepared, I turned up at the club and found that I was facing Germans (#90). I was happy with that as I thought it would be a better game, and it was also closer to being a historical match up.
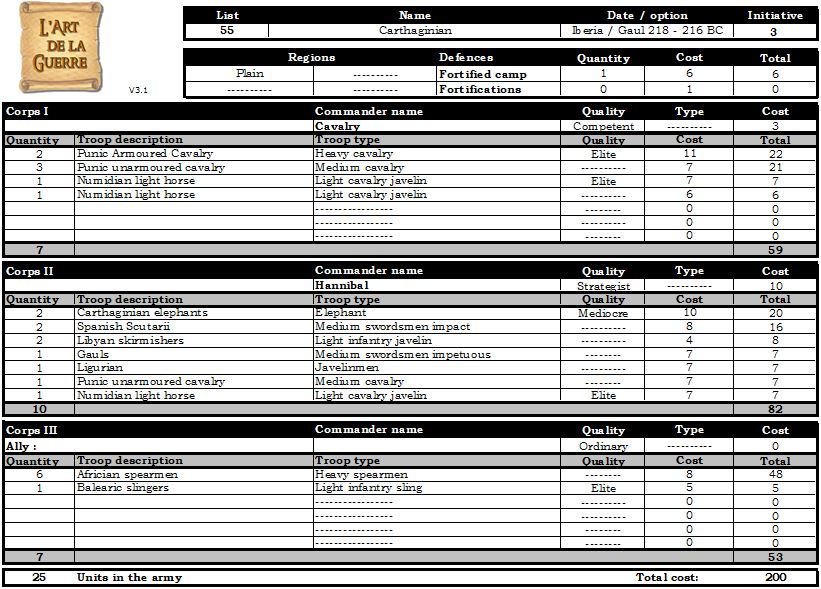
My Carthaginian list is a minor change from my last game.
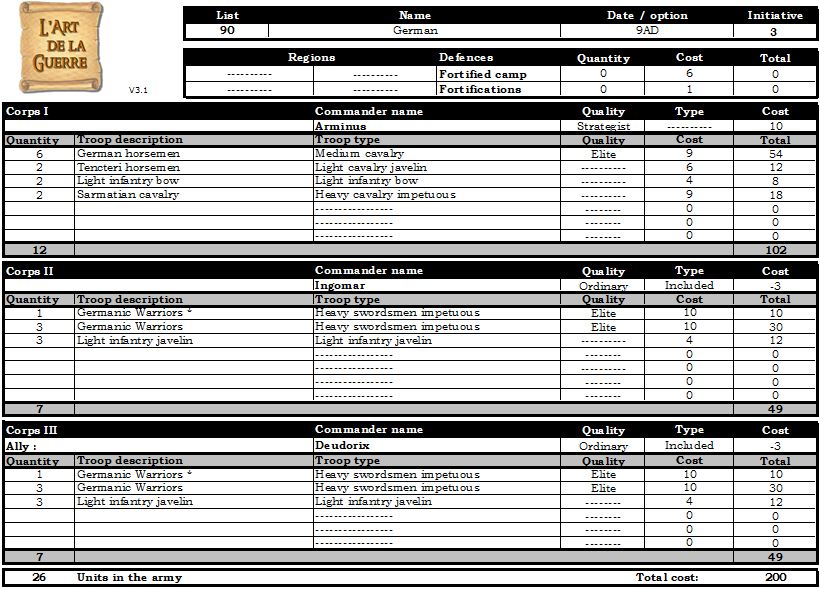
Jason's German list
The German general won initiative and decided to defend in forests. He placed a coastal zone, two wooded hills and the compulsory wood. I placed an impassable lake and a marsh.
Initial terrain placement
When the time came to adjust terrain I was able to remove both wooded hills and moved the wood to the edge of the board. The defender moved the woods back so there was a line of terrain pieces from the marsh to the lake.

After terrain adjustment
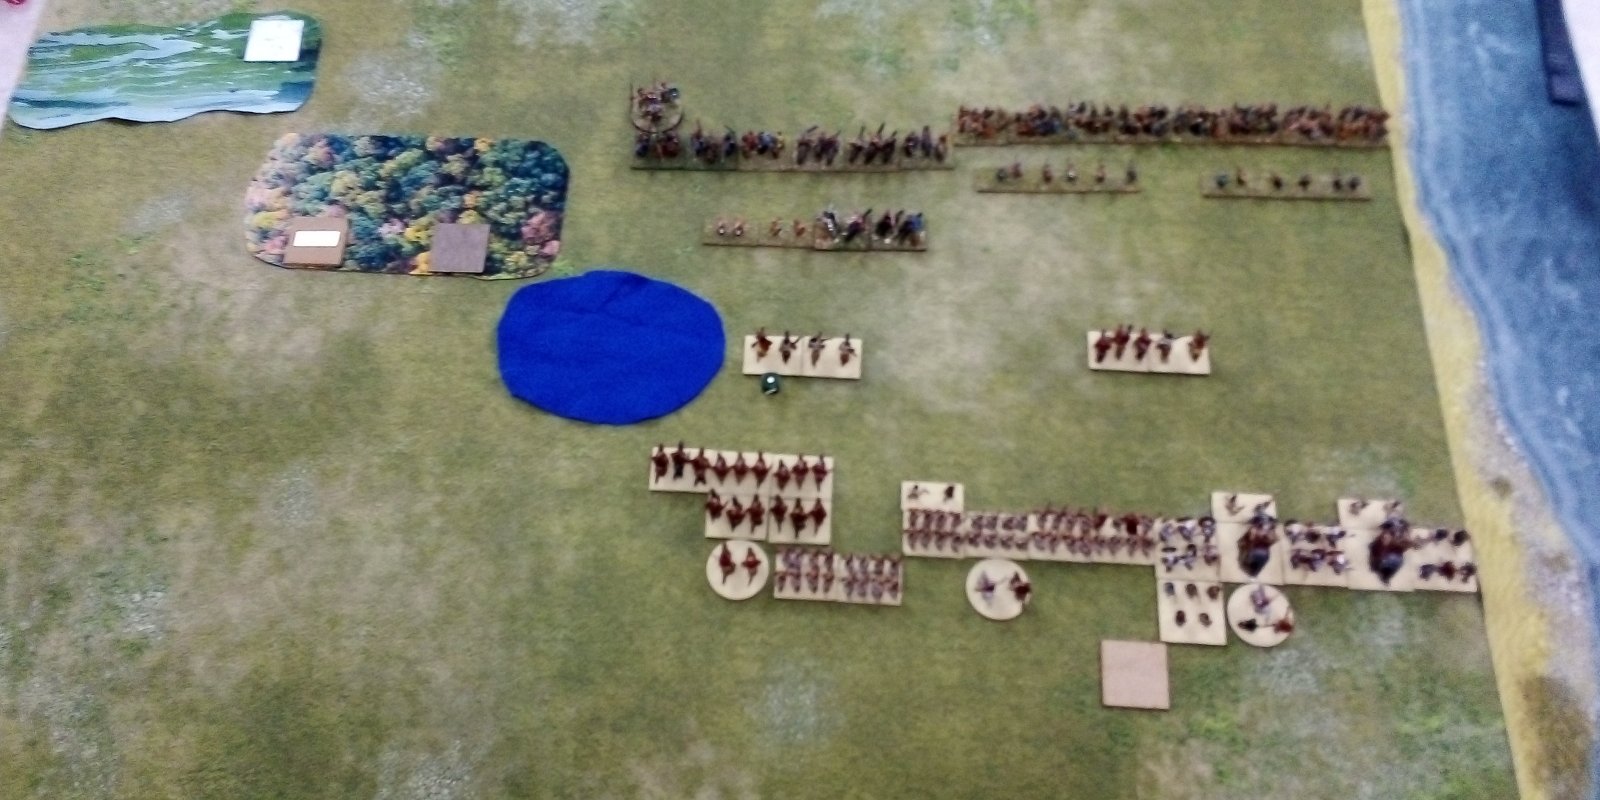
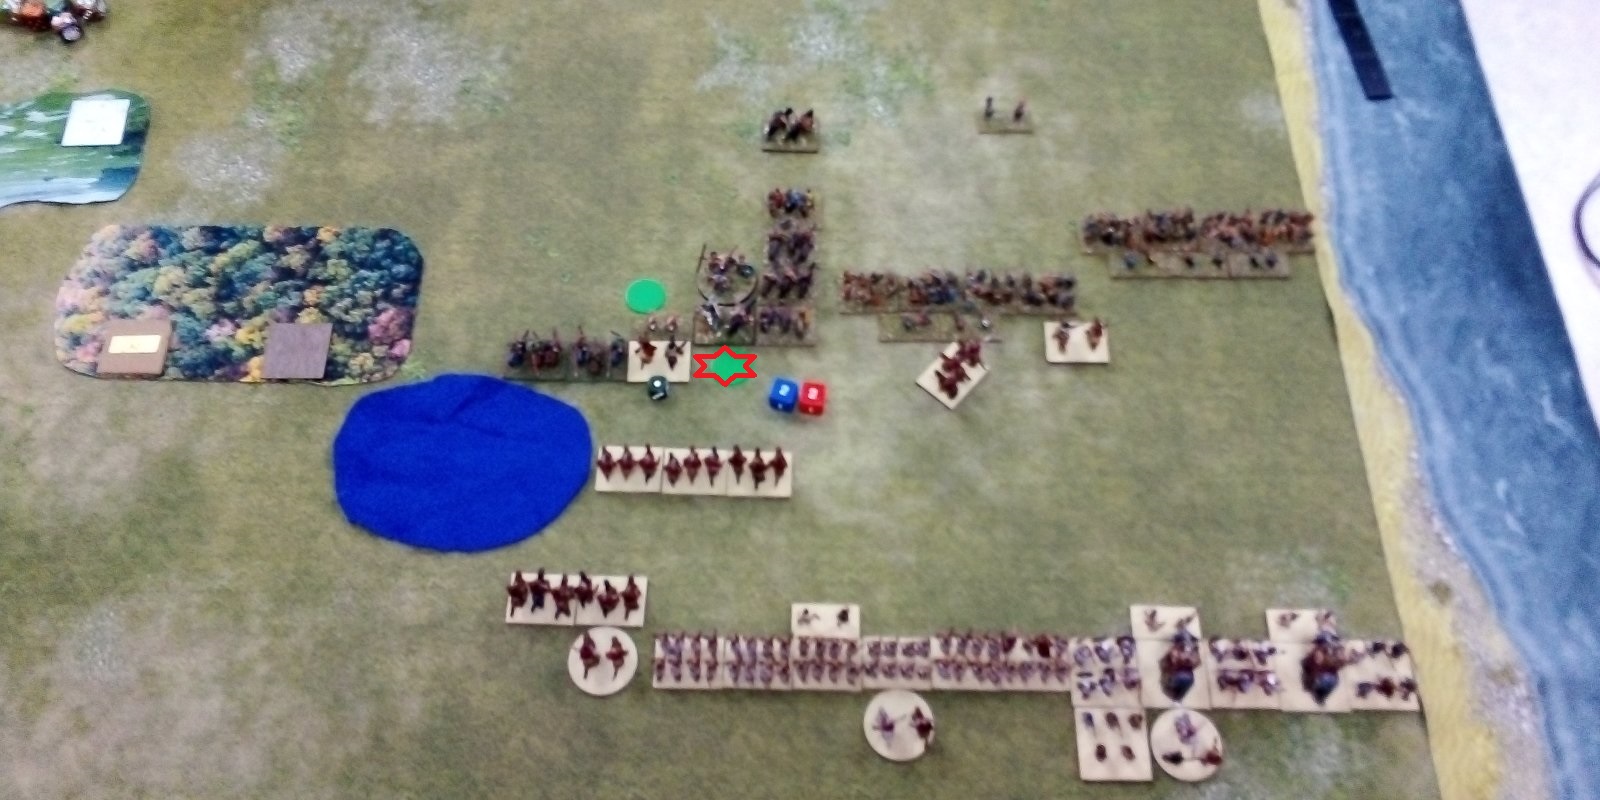
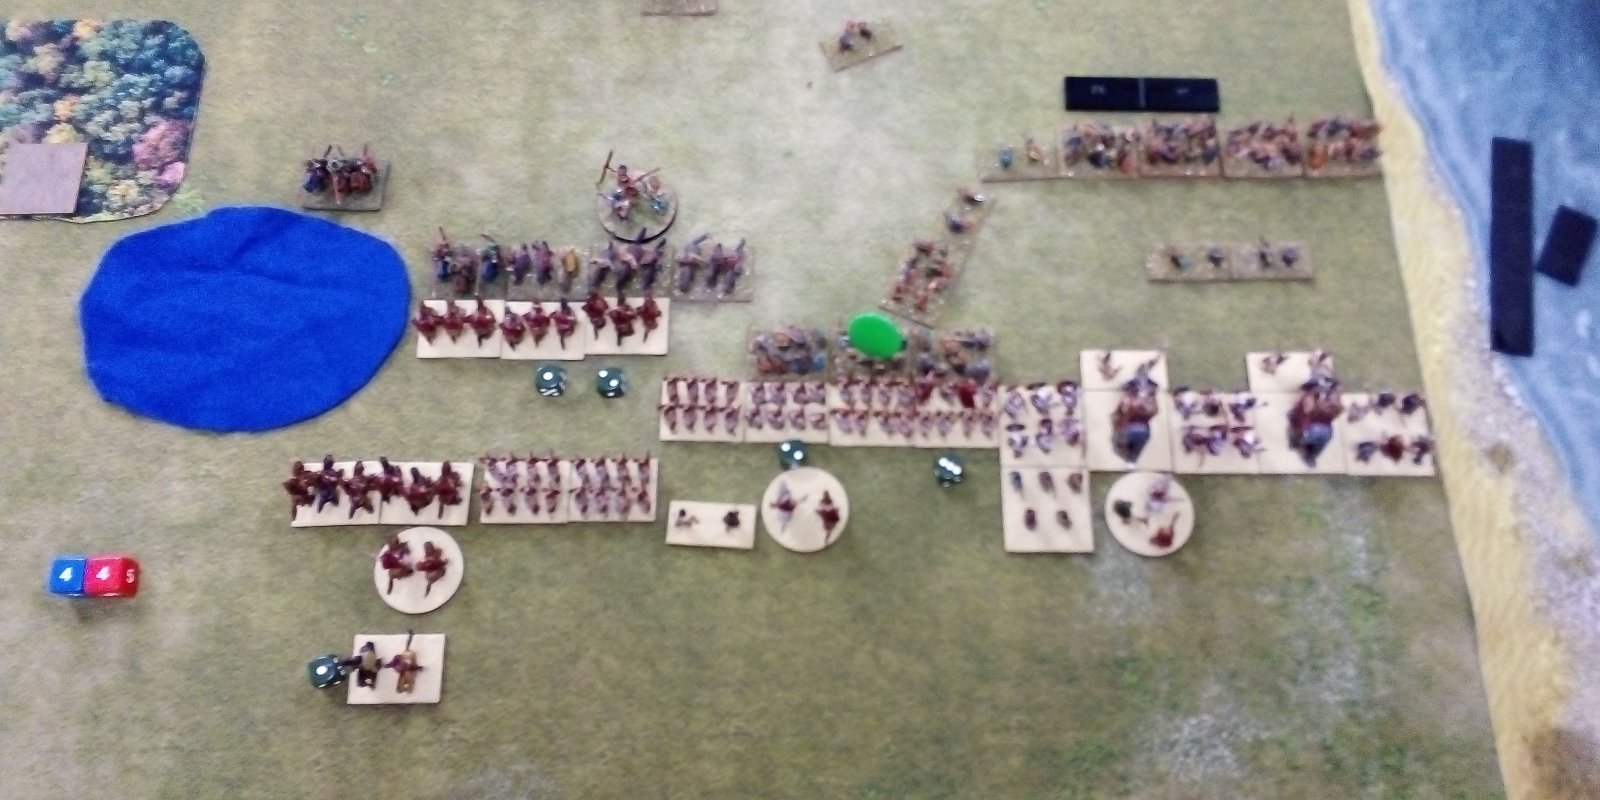
The first German command was deployed hard against the coastal zone. I responded with my elephant/MI command opposite but with the MC and LH in front of my lines. The second German command was deployed adjacent to the first, and I deployed my spearmen adjacent to my first command. However to leave room for the cavalry between my battle line and the central lake, the left two elements were behind the main line. The Germans then placed their cavalry command and I placed my cavalry as best I could.

Initial deployment
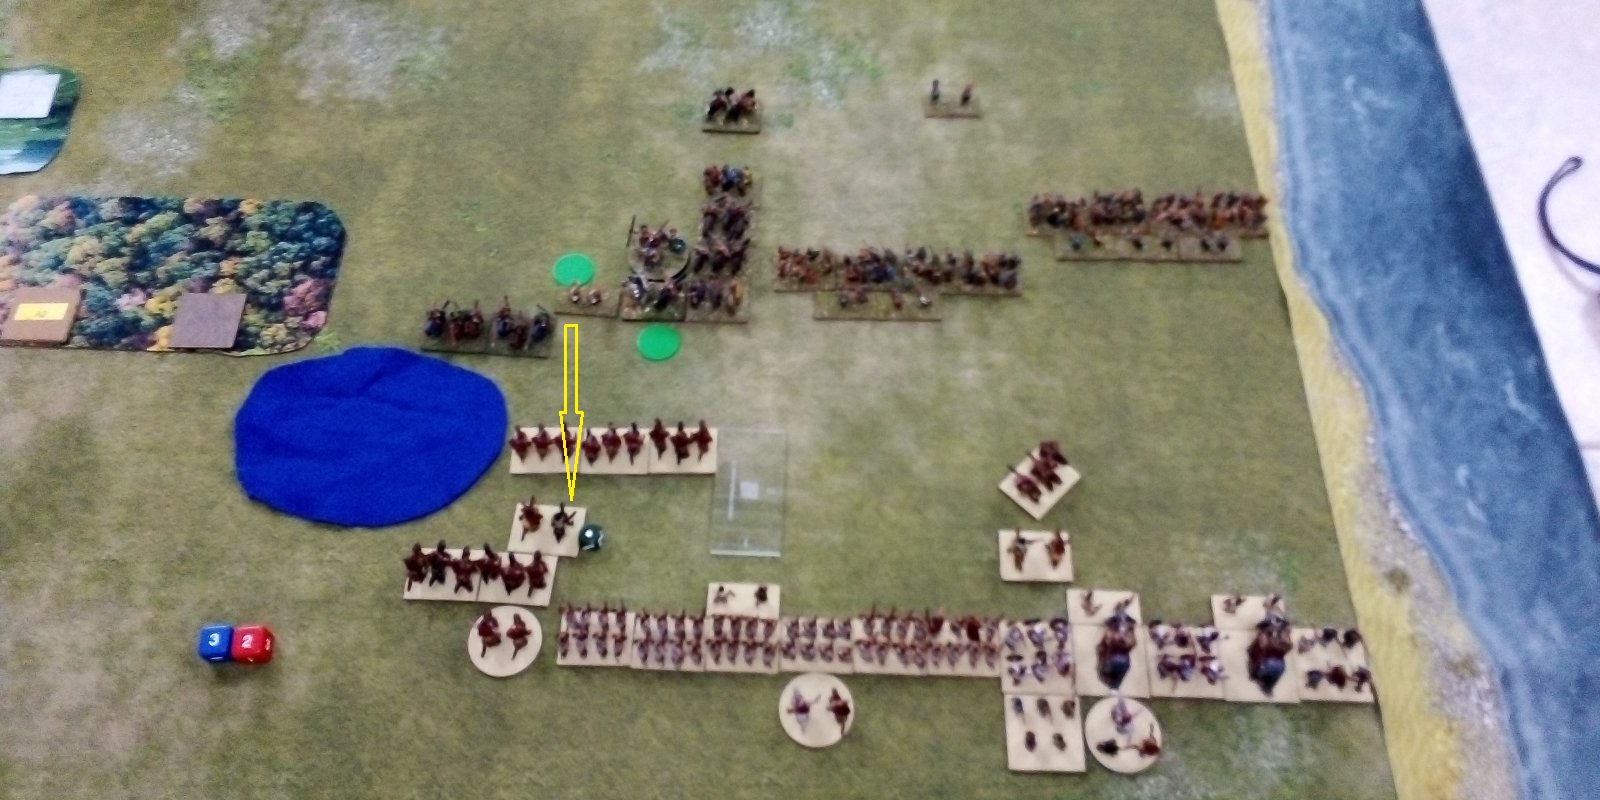
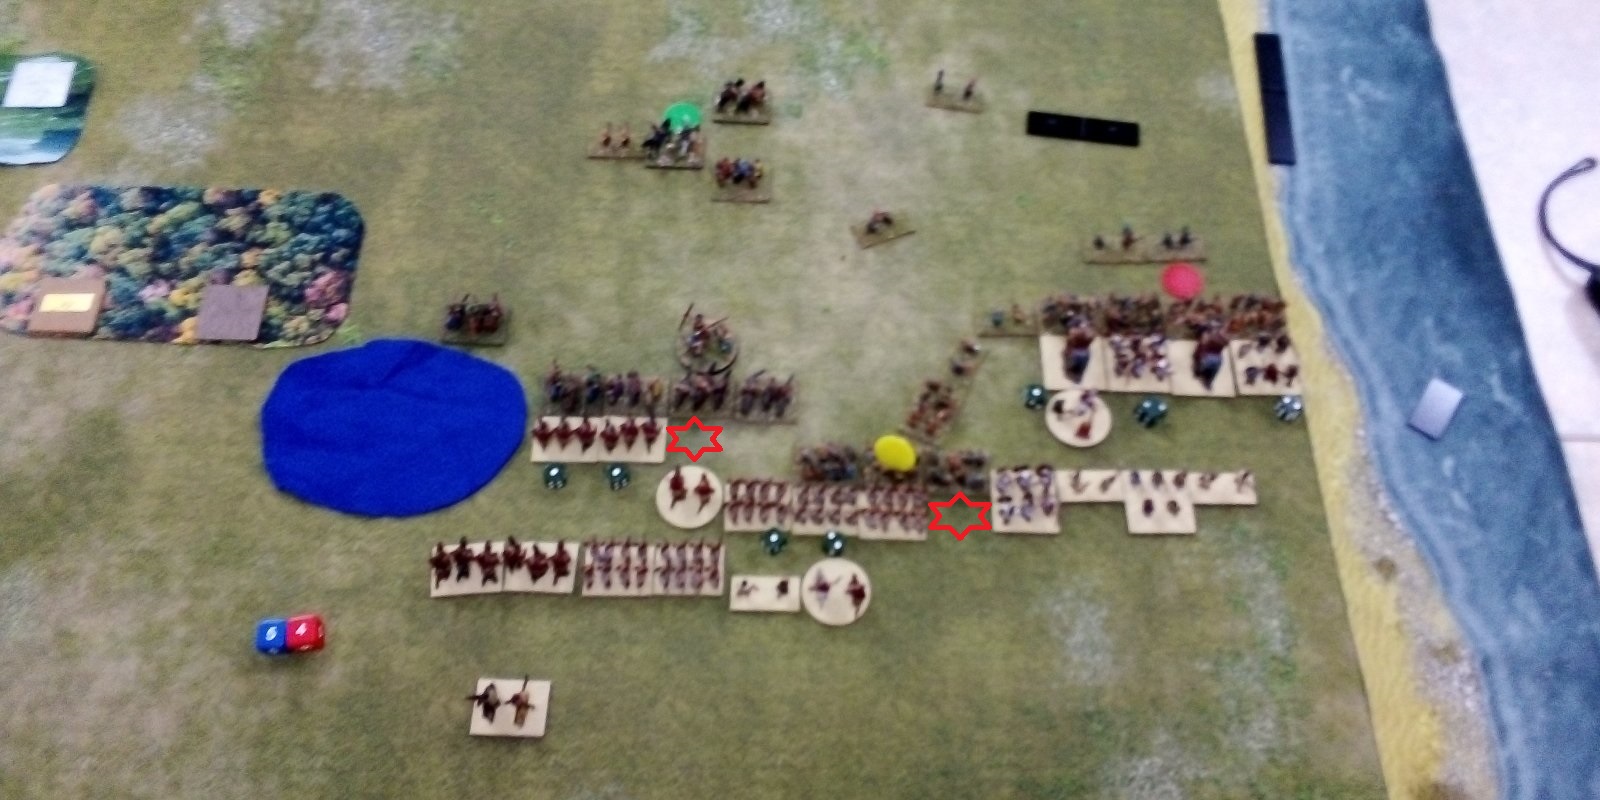
End of deployment had seen my army crowded into less than half the board. In my first turn I tried to clean things up a bit but the cavalry was still crowded.

End of Carthaginian Turn One
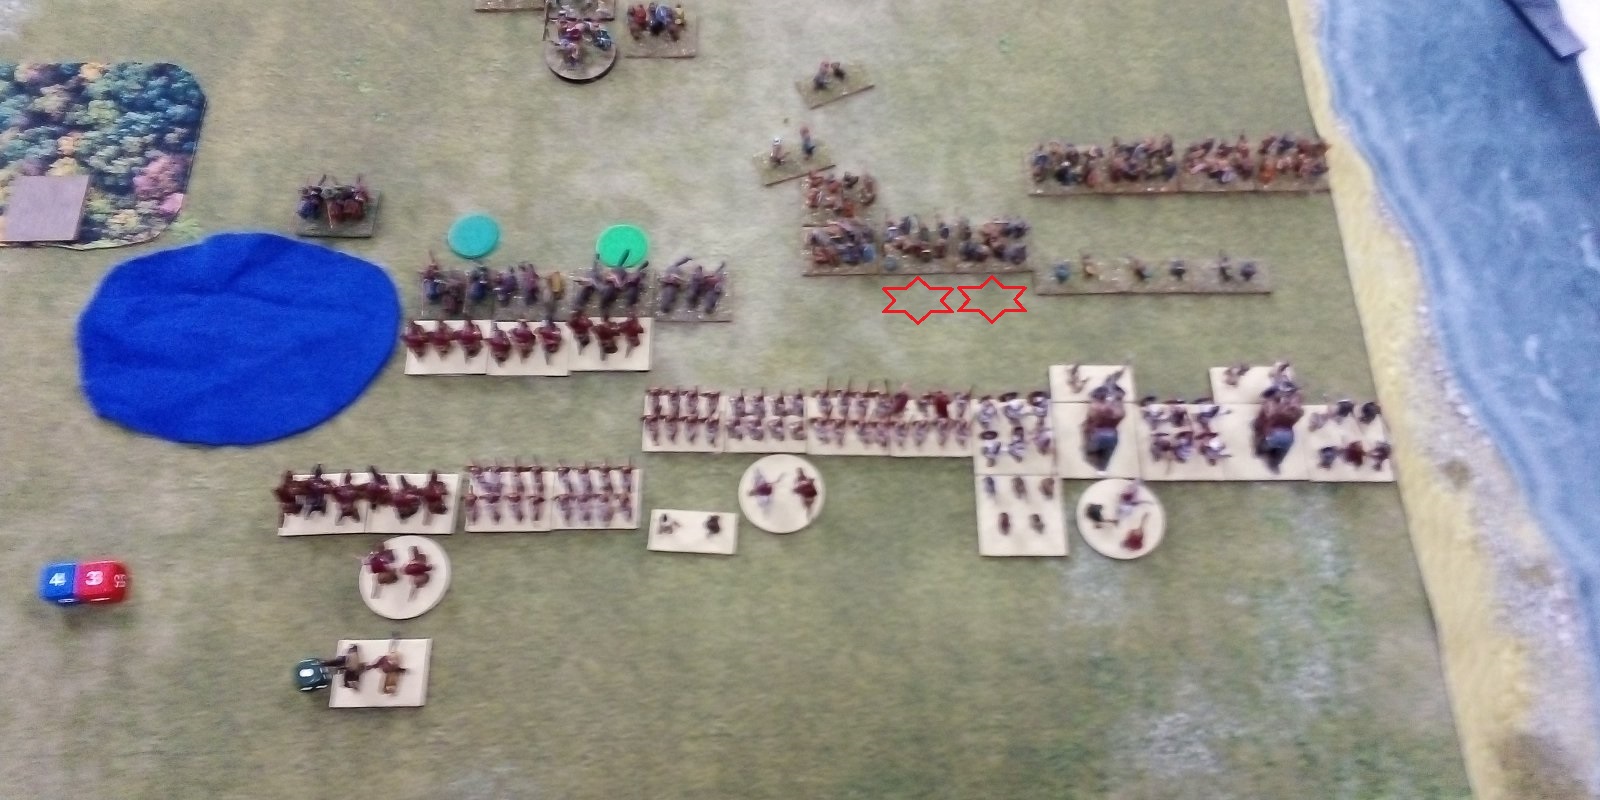
In their first turn the Germans advanced straight ahead and inflicted one hit on my light horse.
End of German Turn One
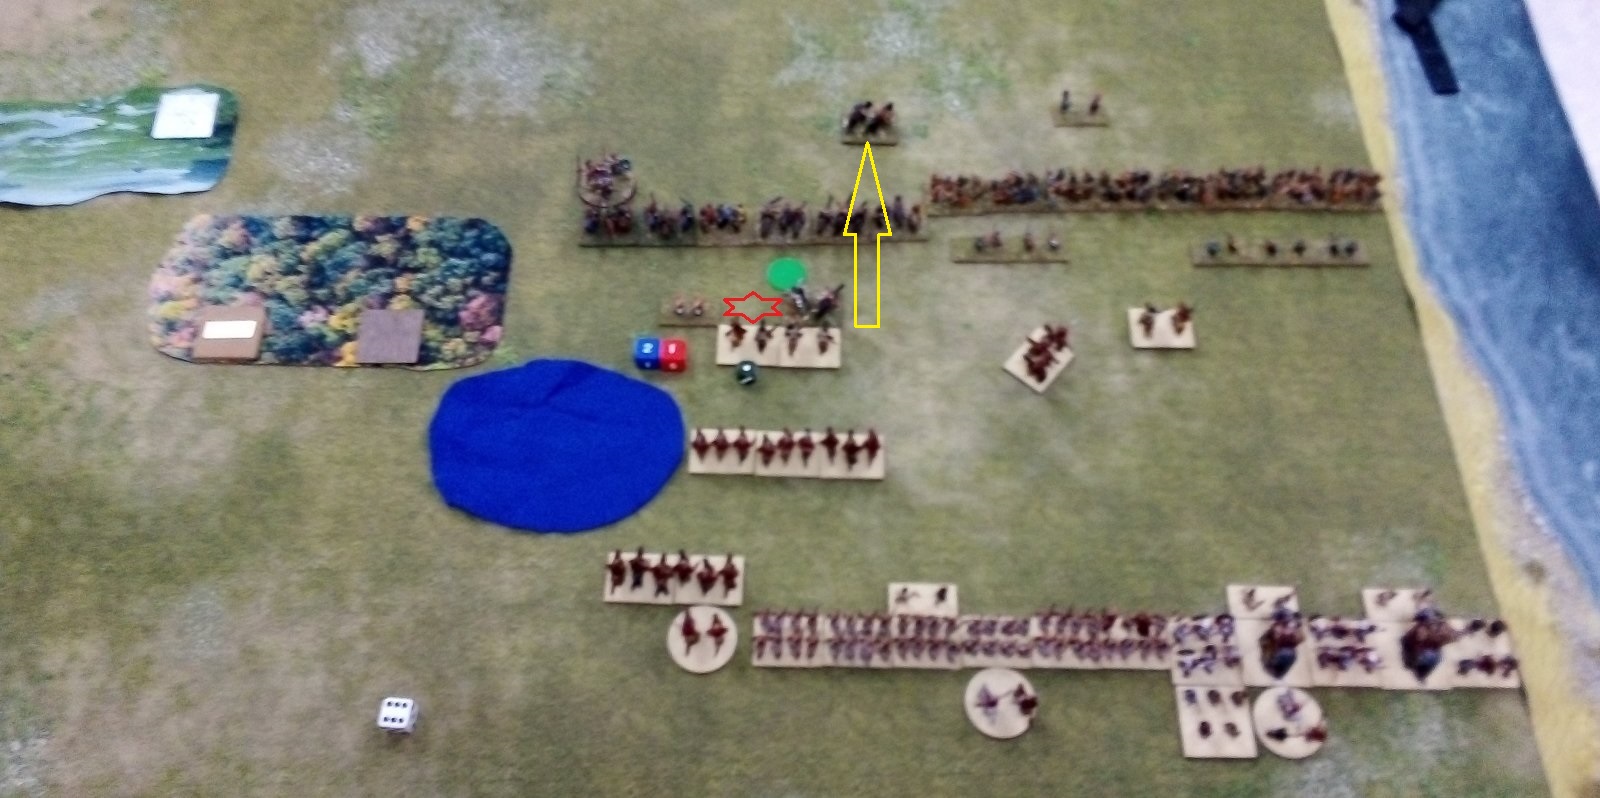
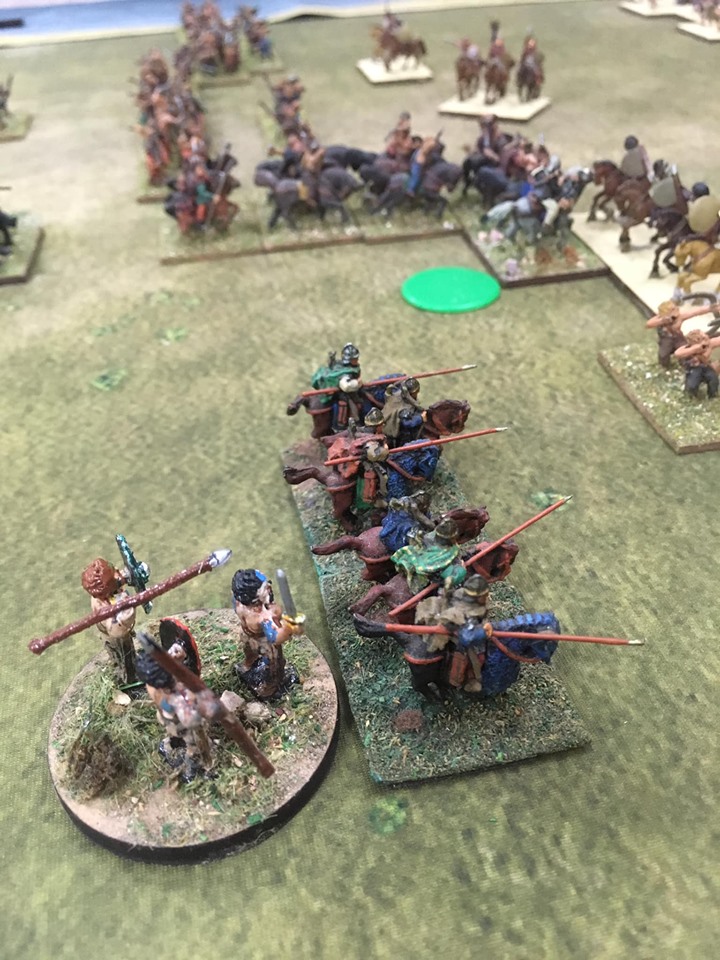
Turn two I charged the enemy light units with my left flank light horse and also with a MC from the right flank command. The German light horse fled from the MC and I was left with two of my LH fighting his LI and LH. My disrupted LH destroyed his LI and my other LH injured its opponents.


I should have measured the available space for my army between the lake and
the coastal zone and taken that into account when
deploying my first command.
LH should only be deployed in front of cavalry rather than in front of infantry.
They can escape by interpenetrating the cavalry . Cavalry have no place in front
of the infantry battle line.
My first deployment should have been with the El/MI command 5 wide with the LMI and cavalry behind as reserves.
My spearmen could have deployed four or five units wide with the extra unit(s) in column with the front units rather than refused on the flank like I did. I was planning on fixing the deployment by moving forward and sliding, but if I deployed in column I could have stayed in place and expanded via an extension when needed.
If I had done both the above I would have left more room for the cavalry
command to operate.
Later on in the battle I was able to flank myself by moving my Spanish MI into
side to side contact with German HI. I should have realised that my HI
Spearmen being on 3 wounds was likely to break and let the Germans through.
It would have been better to keep to a nice
straight battle line.
Jason suggested that if you are going impetuous I should have made the entire
command impetuous rather than just one unit because the group is made
unmanoeuvrable if any are impetuous.
I need to consider what terrain I should use for all possible regions.