Alexander the Great vs Welsh
Pregame
I was playing against Jason Gray, who I hadn't played against before. He was going to bring either Normans or Welsh.
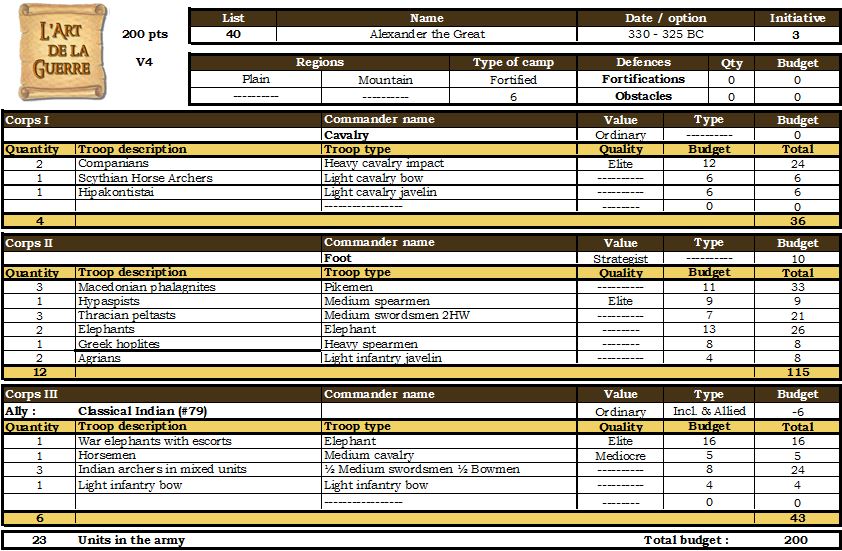
I decided to tweak the list I had used 3 weeks before in my last game. I reduced the Indian allies by removing one elephant and escorting LI, making the MC mediocre and including the general (total savings 25 pts). I also made the cavalry general ordinary (saving 3 pts). A my list was only 198 pts last time, this gave me 30 pts to play with. I decided to add a unit of pike, a unit of Thracian MI 2HW and a unit of Hoplite HI to Alexander's command (26 pts), and by downgrading the Agrian light infantry to ordinary was able to add a fortified camp.
Army lists
My Alexander the Great list
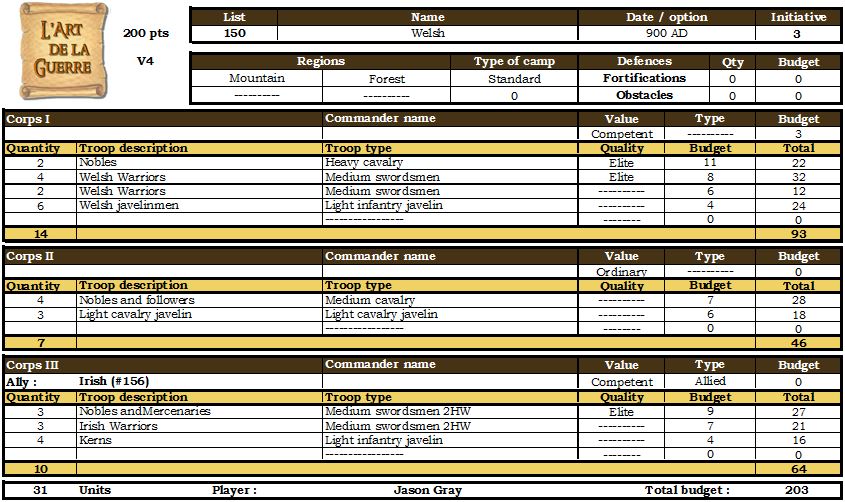
I didn't get a copy of Jason's list, but I think it was pretty much the below. It might be that the Irish ally general was meant to be included.
The Game
Jason won initiative and chose to attack in the mountains.
As I had a small army I wanted to minimise the board width, so I tried for a coastal zone but was unsuccessful. I also wanted to minimise the terrain that would penalise my pikes and elephants so in addition to the compulsory steep hill I selected brush and a road.
Jason wanted to maximise the rough and difficult terrain so he chose two gullies, a wood and a marsh. One gully ended up in the middle of my deployment zone, sticking our at right angles to my deployment zone. This gave a 3 UD wide block of rough terrain in the middle of my deployment zone. I had 3 possible attempts to adjust terrain, and this gully in the middle of my deployment zone was my first priority. On the second attempt (on the first attempt I rolled a 1 or 2) on this gully was able to rotate it to be parallel to the board edge so that it would not effect my deployment. For my final attempt to adjust terrain I tried to adjust the gully near the road, but failed in my attempt (I rolled 1 or 2).
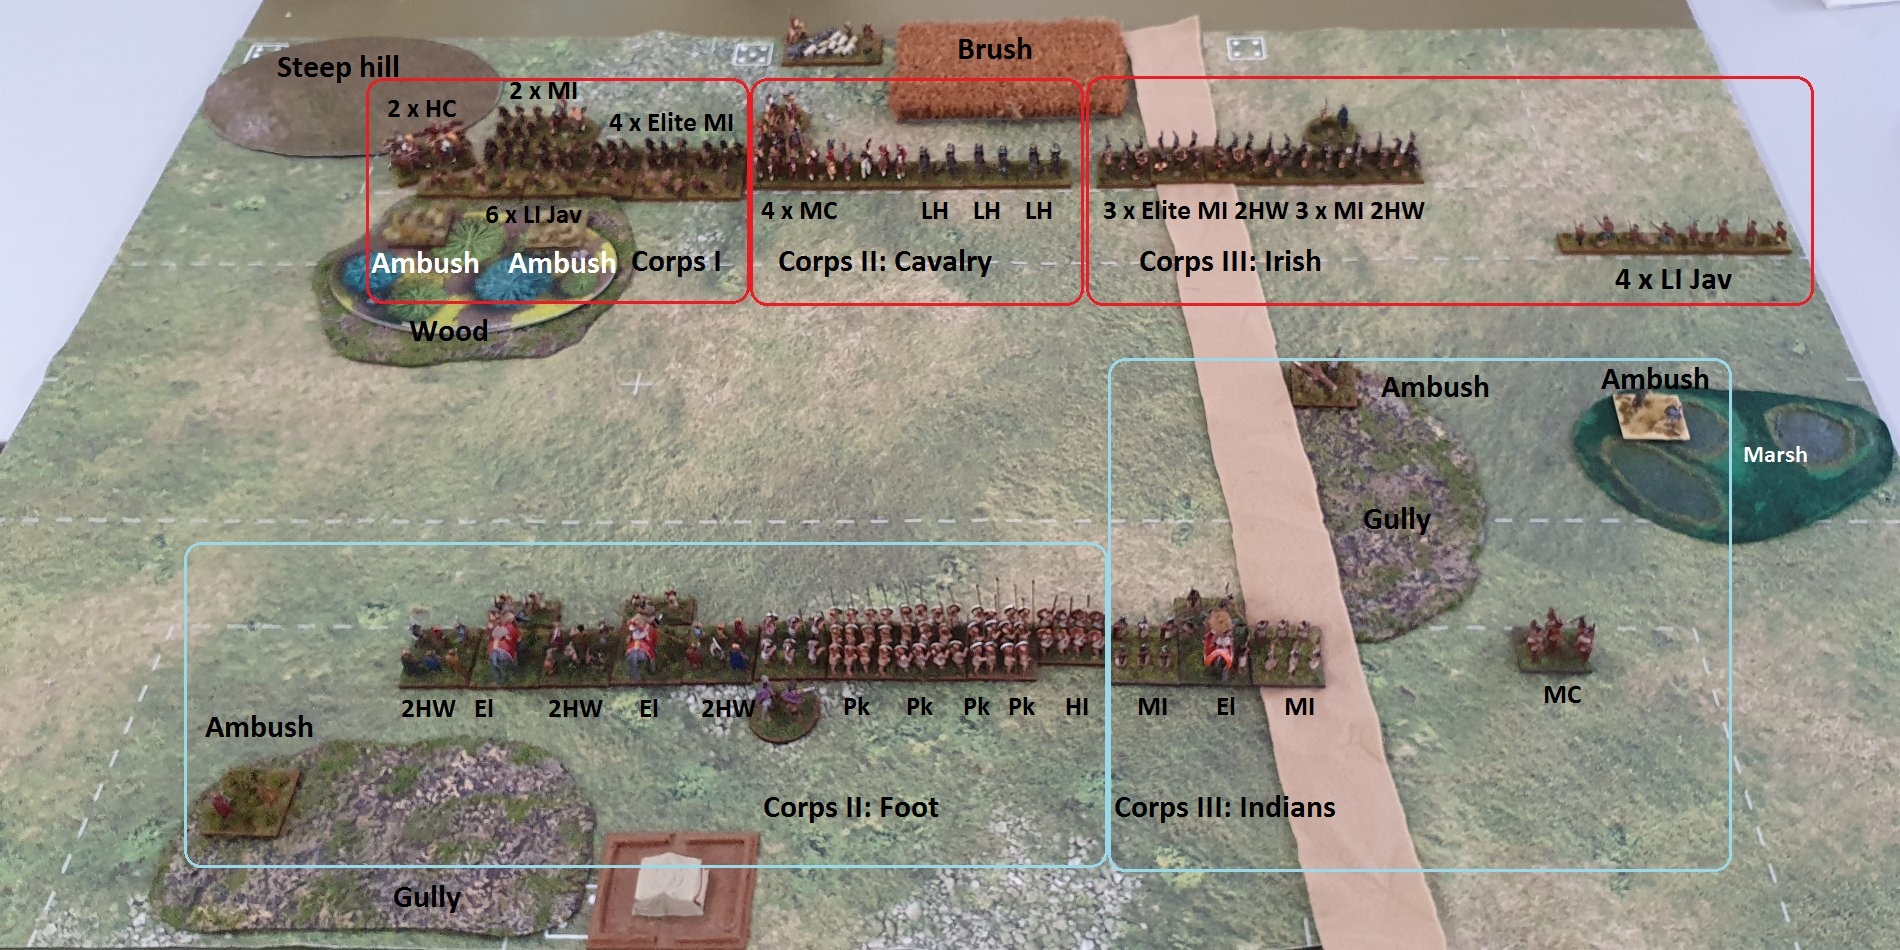
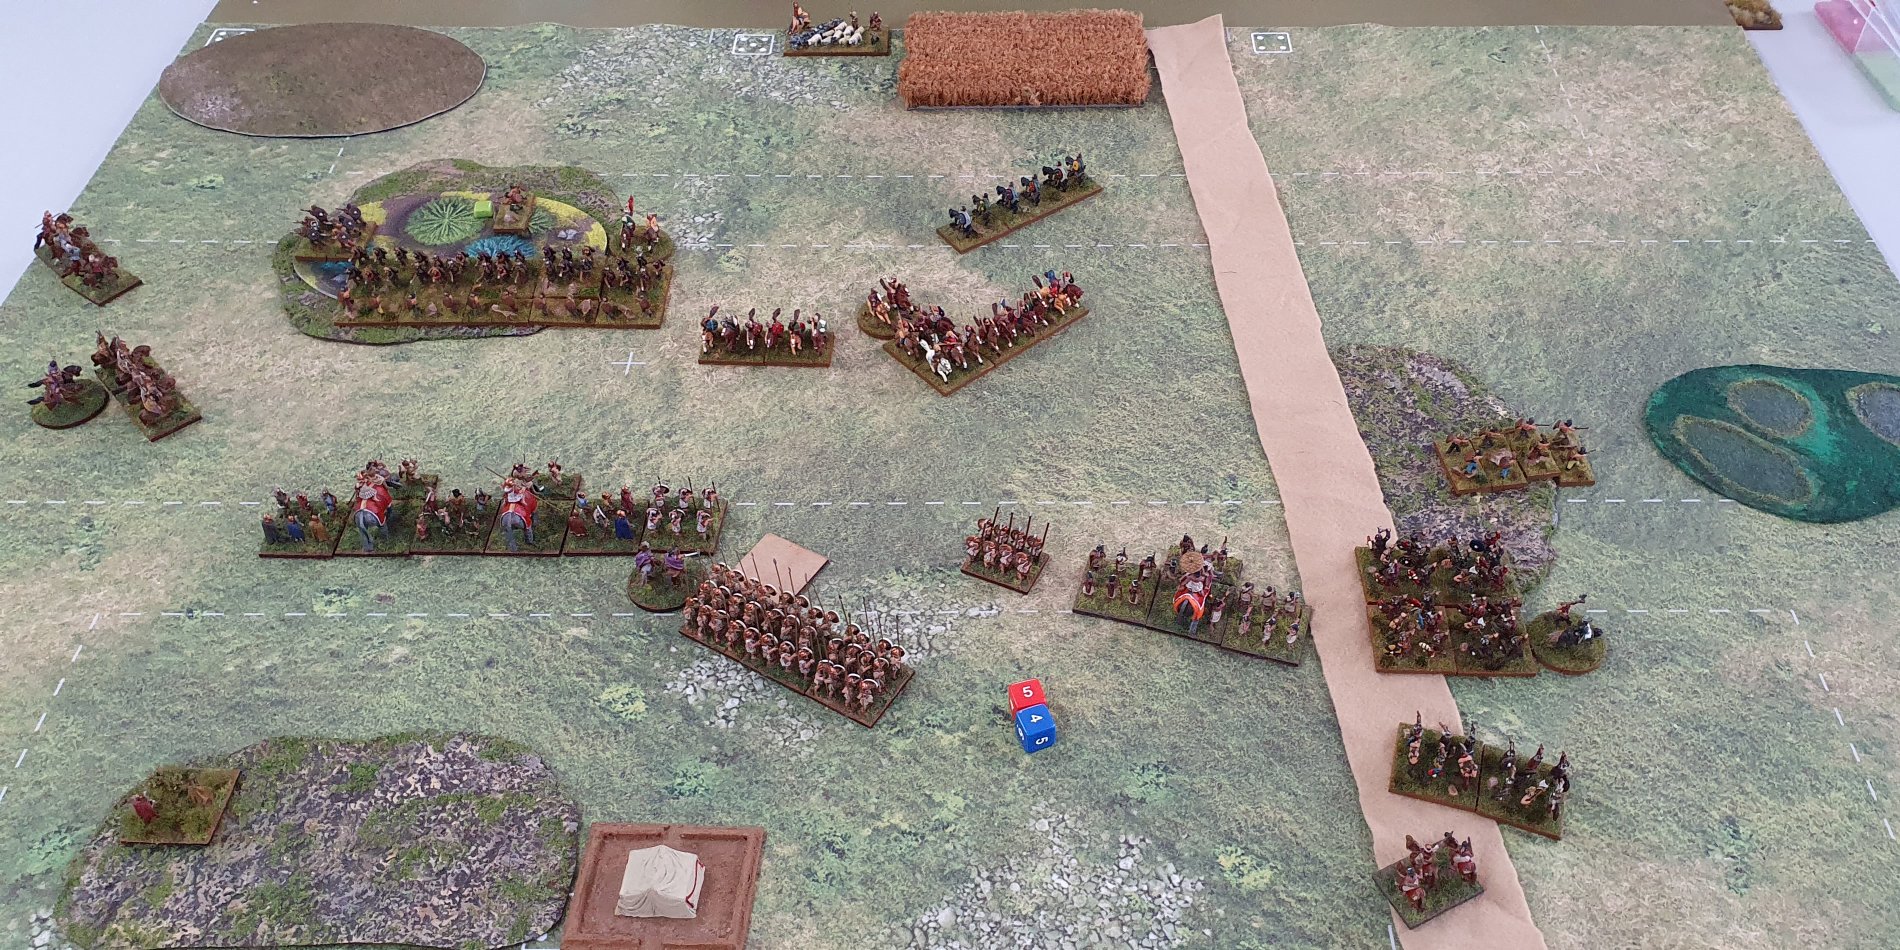
Initial Deployment
After my last game, I decided to do a flank march for my cavalry corps, with them coming in on my left flank. I deployed the Indians on the right flank with a unit of MI in ambush. With my large command I had the pikes in the centre or the board and the elephants intermixed with the MI 2HW. This would mean that the MI were somewhat protected from enemy cavalry, although it might have been better if I had thought about the woods in front of me and positioned all the MI together.
My plan was to hang back somewhat to wait for the flank march to come on and threaten the flank of the enemy.
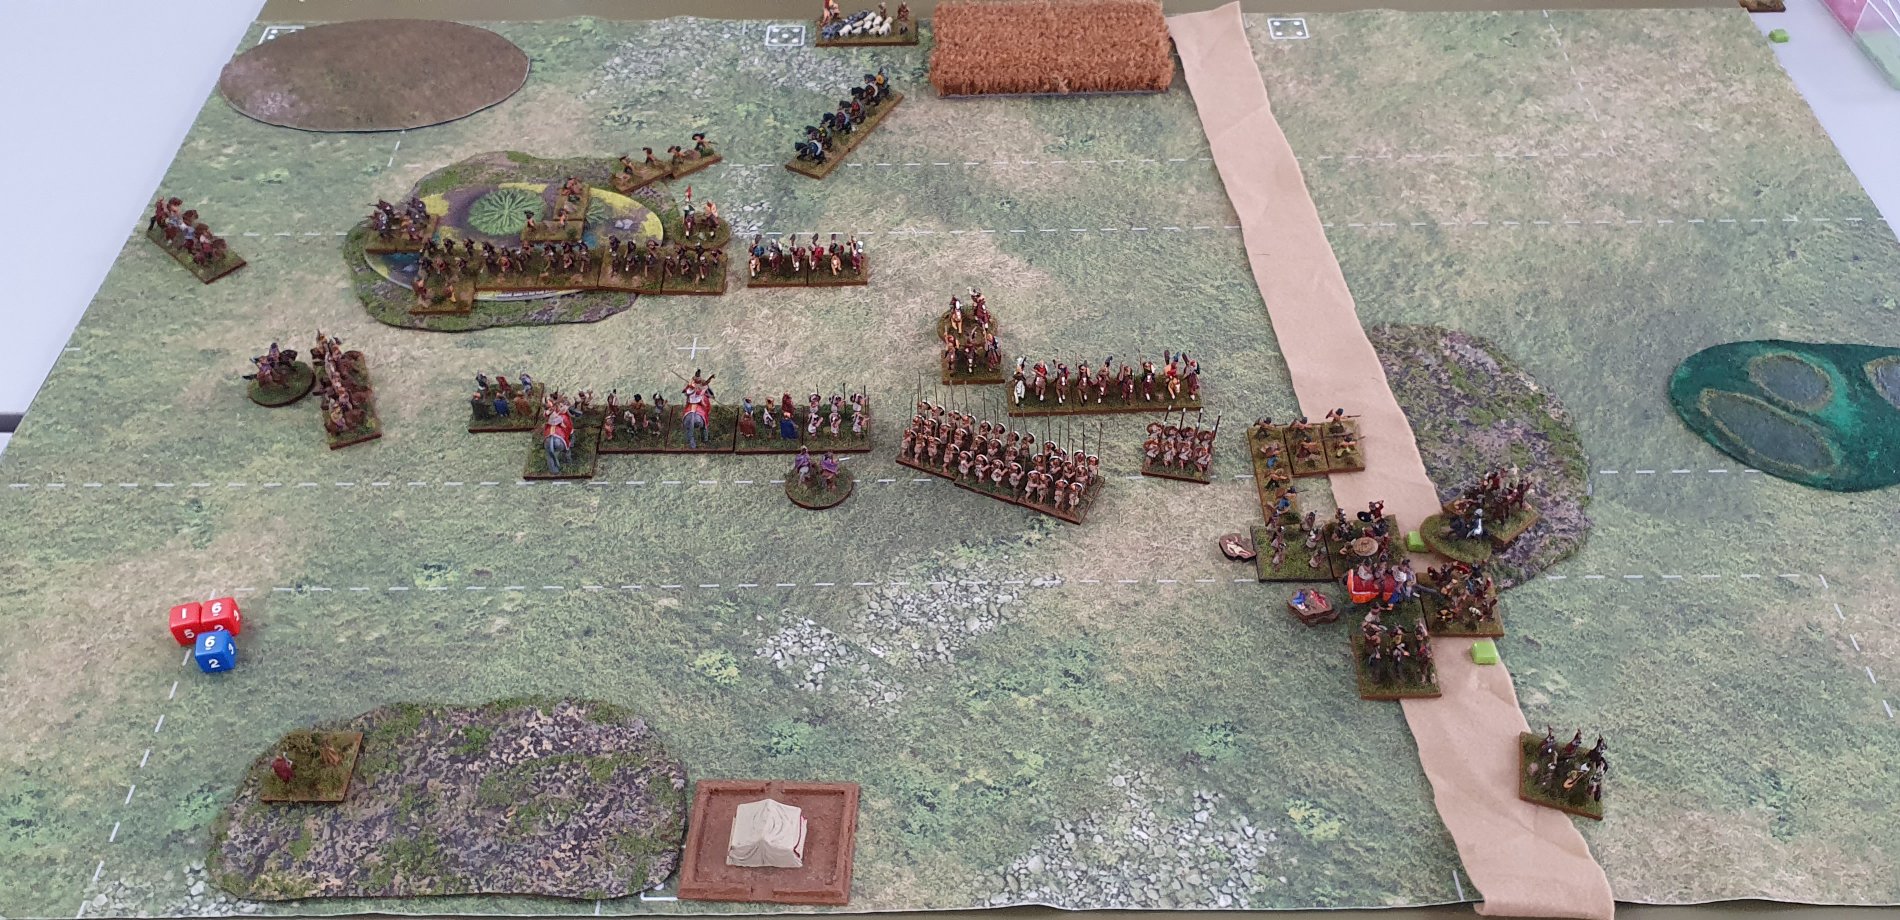
Jason deployed his Welsh cavalry corps in the centre, in clear terrain but opposite my pikes and spears, with his Welsh and Irish medium infantry on either flank positioned to move up through the terrain.
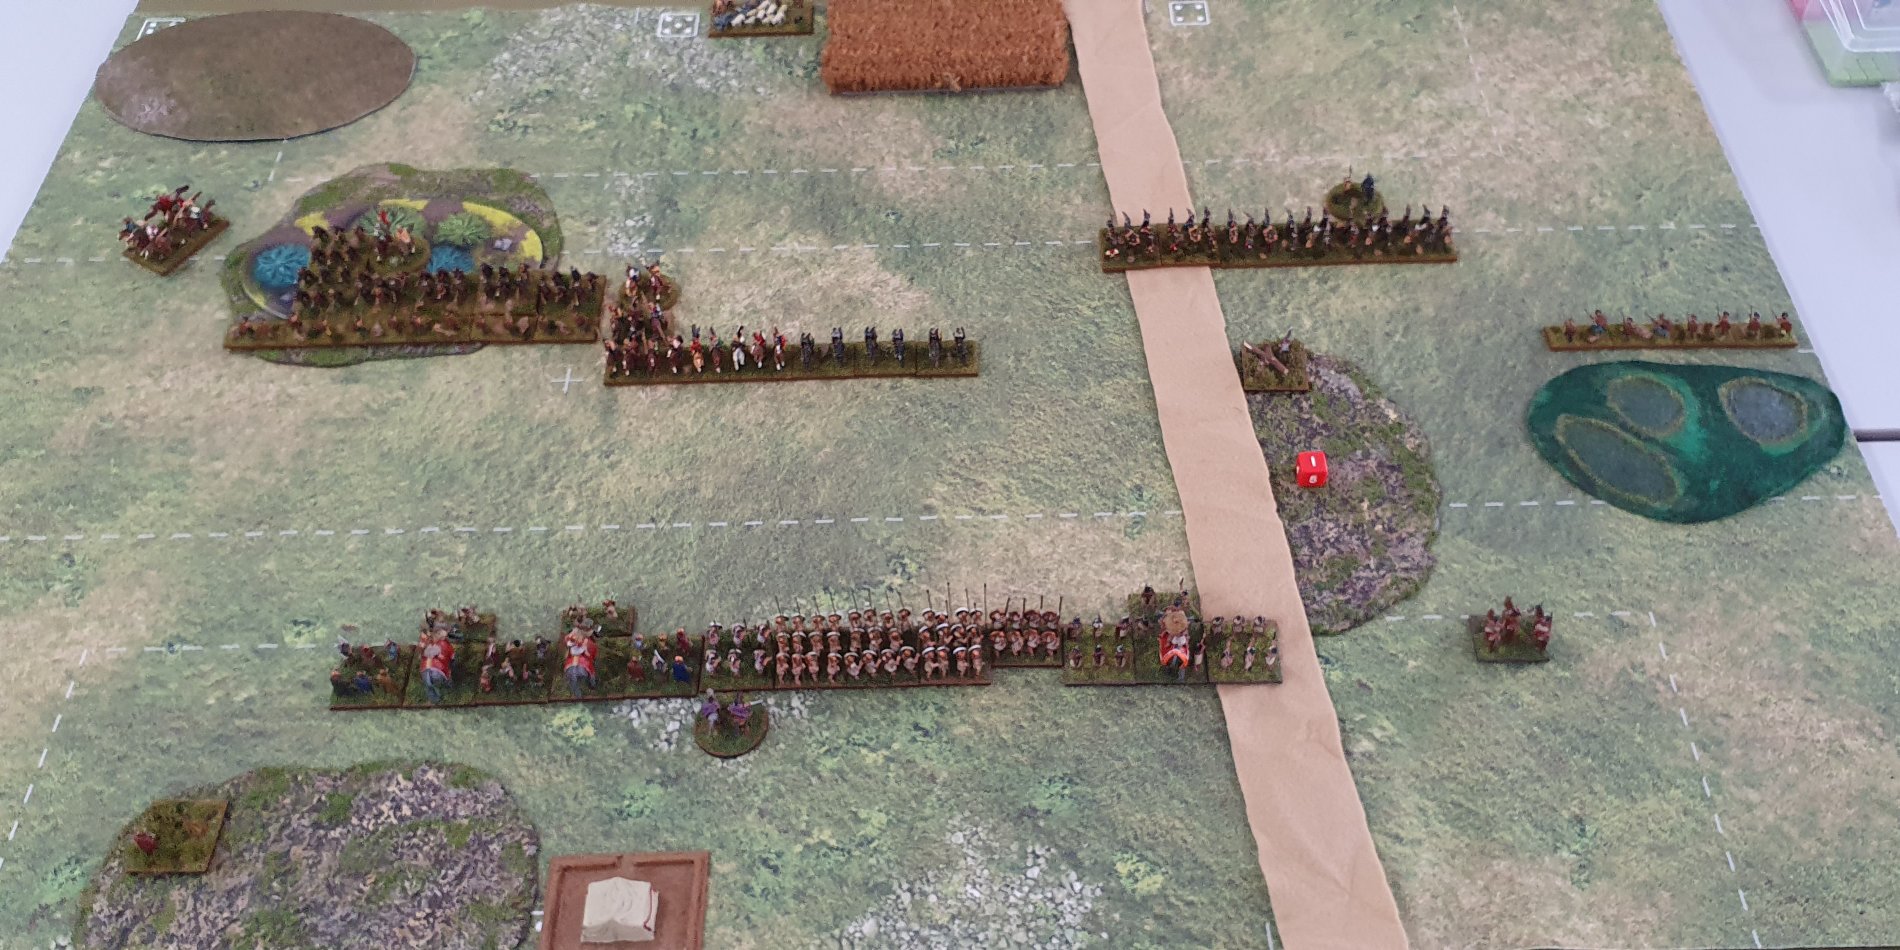
End of Welsh Turn One
In the Welsh first turn everything moved forward with the Welsh medium infantry advancing through the woods. The two Welsh elite heavy cavalry moved out on their right flank.

End of Alexandrian Turn One
My Indian general threw a 2 for command pips. Better than a 1, but still only 1 pip and the general's. The ambushing MI were more than 4UD from the general, so would need 2 command pips to move. I had wanted to pull them back, but this was not possible. Instead I revealed the ambush facing the enemy and moved back the mediocre MC.
Alexander's corps moved 1UD forward to allow me to slide so as to better align with the enemy.
My flank march threw a six, and so would come on turn two. This was earlier than I wanted, as I wanted the Welsh to have committed themselves to the open terrain before the flank march came on.

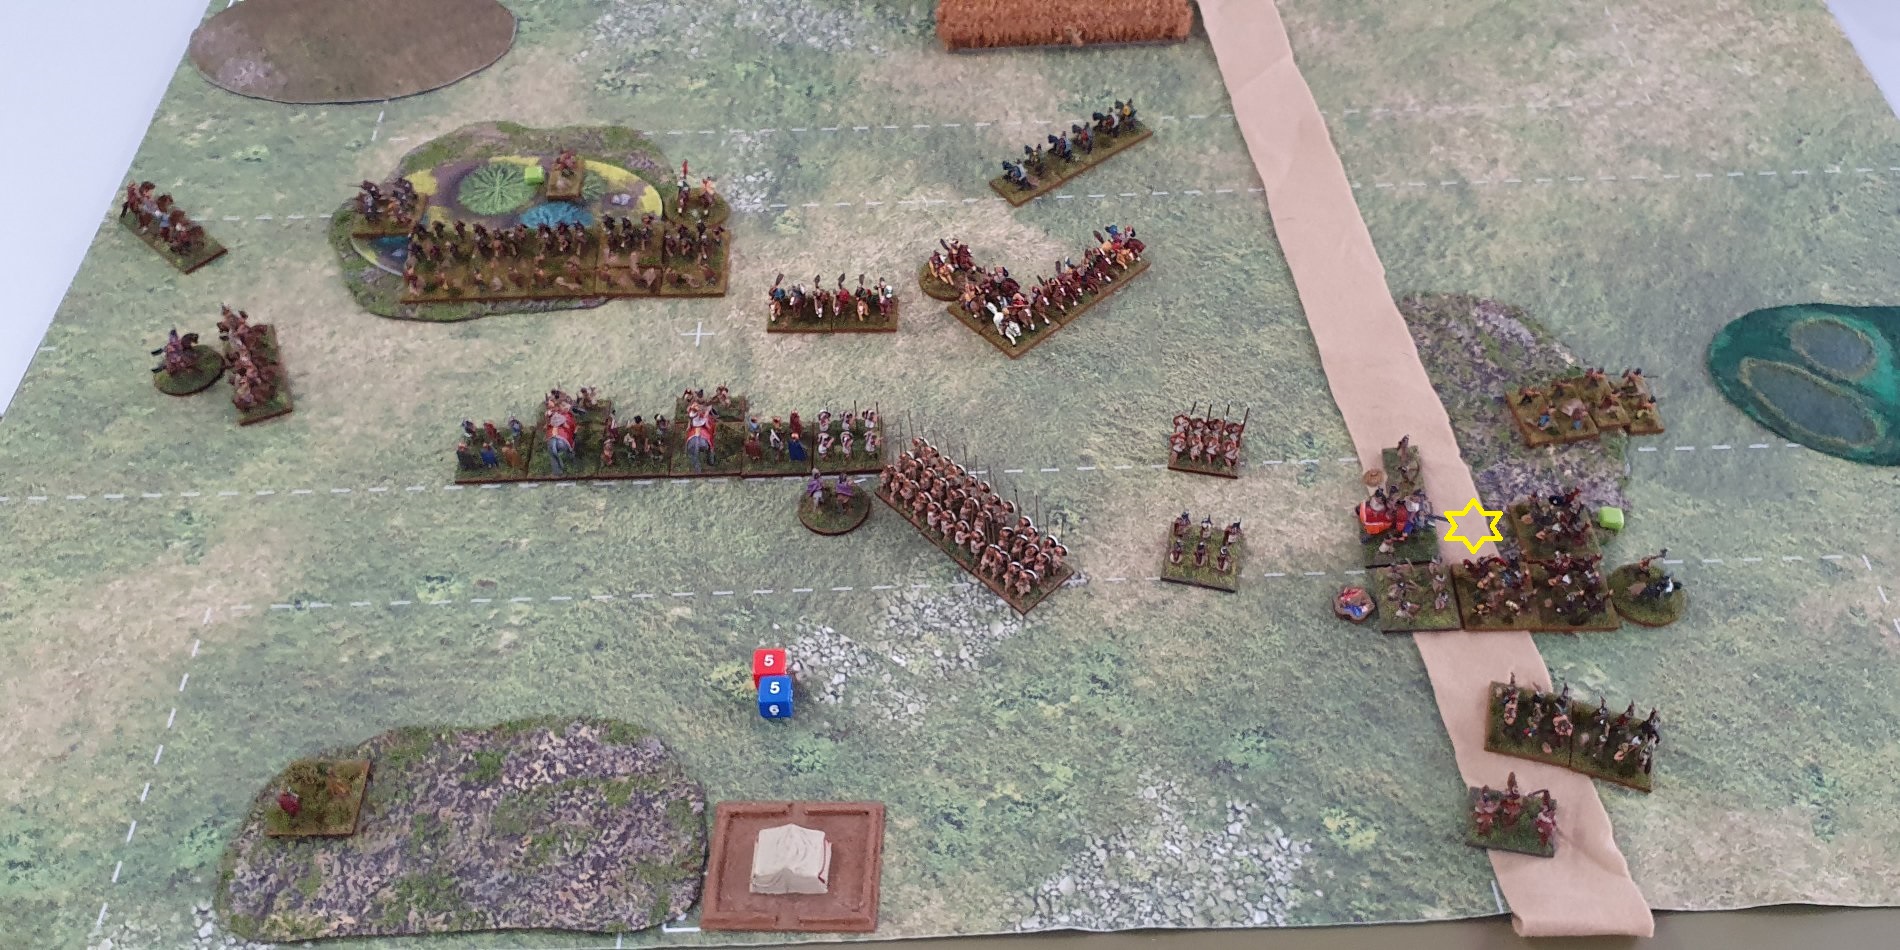
End of Welsh Turn Two
The Welsh infantry responded to the upcoming flank march by turning their end of the line to face the board edge and the rest of the infantry sitting tight in the woods. It also caused their heavy cavalry to abandon their plans for moving down the board edge to flank me and to move back behind the woods.
The Welsh cavalry in the centre moved one unit of medium cavalry from the right of the group to the left of the group.
The Irish moved forward and killed the Indian medium infantry in the gully.

End of Alexandrian Turn Two
Alexander's corps in the centre moved forward 1UD and slid left again. The Indian allies also moved forward 2UD and slid left. The medium cavalry was left behind due to lack of command pips.
The flank march gave me quite a difficult choice. I would have liked to use it to go behind the Welsh lines, but terrain did not suit. Given the requirement for the flank march units to move straight ahead I had limited options. In the end I moved the light horse up to shoot at the enemy light infantry whose corner was out of the woods (and inflicted a hit), and left the Companion heavy cavalry in a position that might threaten the enemy foot if they came out of the woods.

End of Welsh Turn Three
The Irish continued to move forward to threaten the Indians. The Welsh cavalry centre moved back. The Welsh infantry corps stayed put in the wood, apart from drawing back the disrupted light infantry. The heavy cavalry which were part of this corps continued to move behind their lines to the centre of the battlefield.
End of Alexandrian Turn Three
Because of the threat of the Irish I started to pull my forces back to protect the camp and avoid being flanked. The Indian battleline reversed direction and moved back. Alexander the Great threw high for command pips and so was able to move the pikes twice, about facing and move 1UD (as more than 4 UD from enemy) and then move and wheel. The hoplites also about faced and moved back.
My small cavalry corps moved up slightly, still threatening the Welsh if they left the woods.
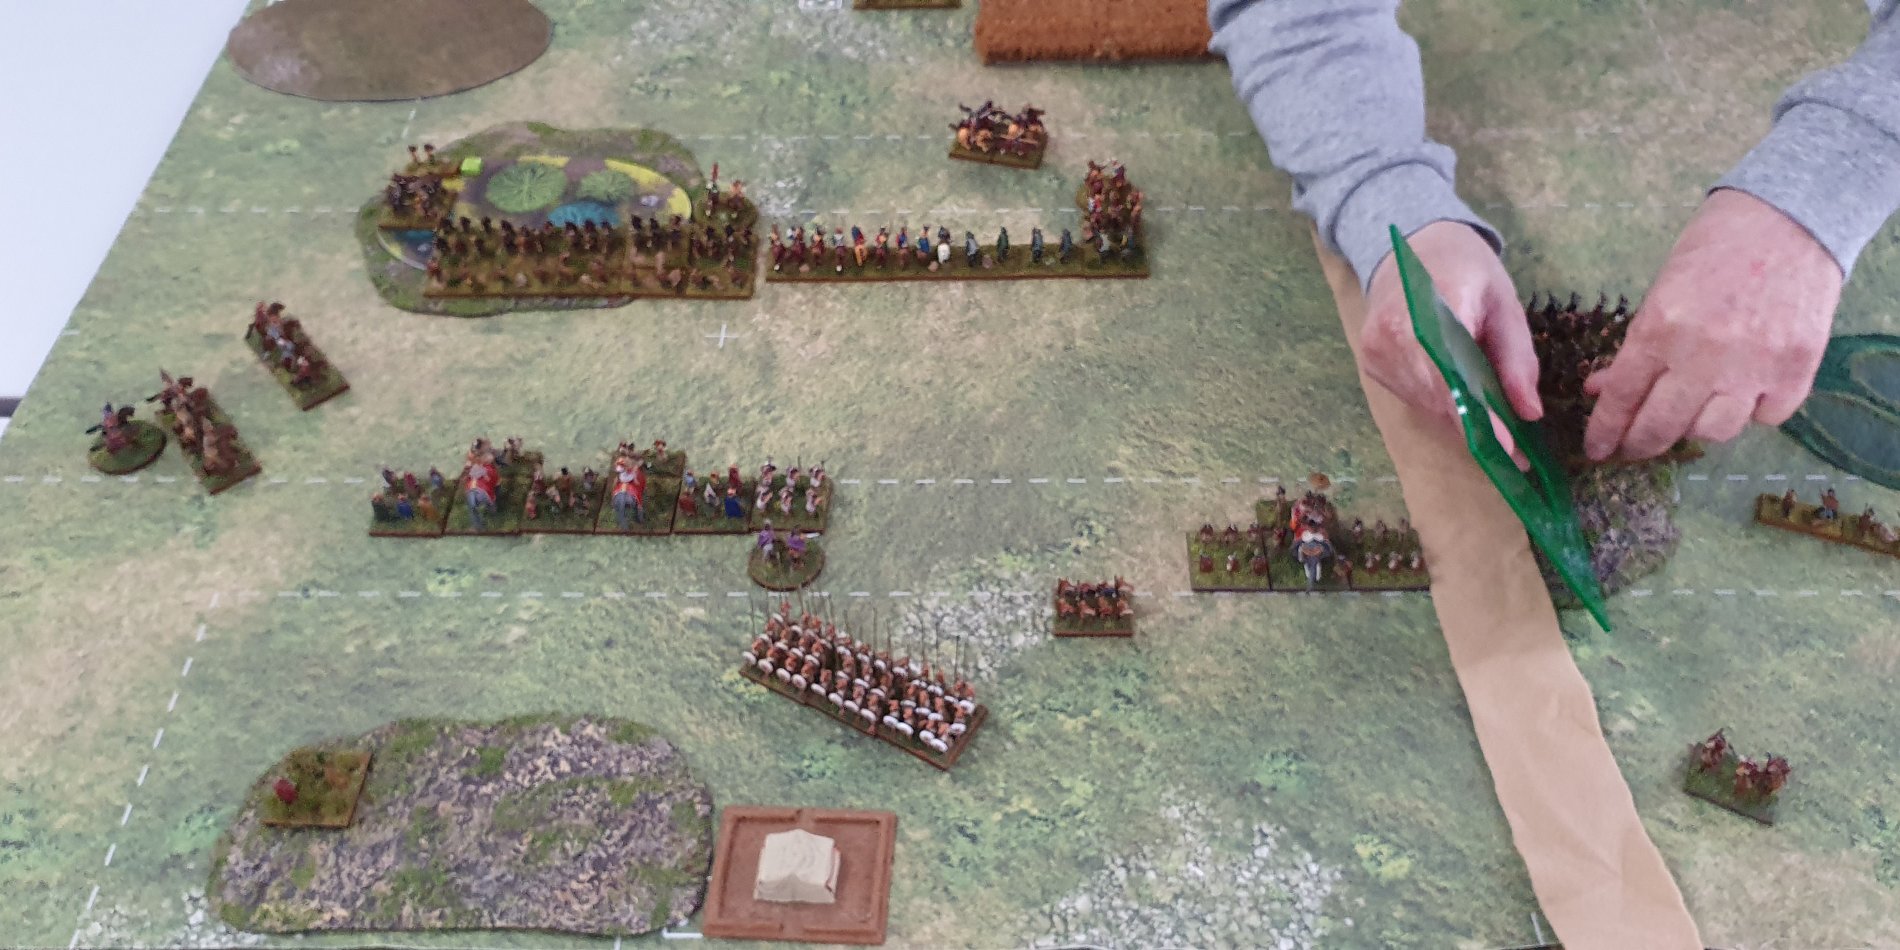
End of Welsh Turn Four
The Irish continued to move forward. The Welsh cavalry in the centre turned to form a column and then wheeled and moved towards the Indians (or perhaps looking to flank my medium infantry and elephants. The Welsh infantry in the woods stayed put.
End of Alexandrian Turn Four
The Indians (who were facing backwards from the last turn) wheeled 1UD and then about turned. This left the battle line angled to try and face towards the Irish medium infantry. I was also able to move and turn the Indian medium cavalry to they were no longer facing the rear board edge.
My hoplites about faced and moved up to protect the flank of the Indians. The Pike also about faced and moved forward back towards the enemy.
With my cavalry corps the light horse moved up the edge of the battlefield.
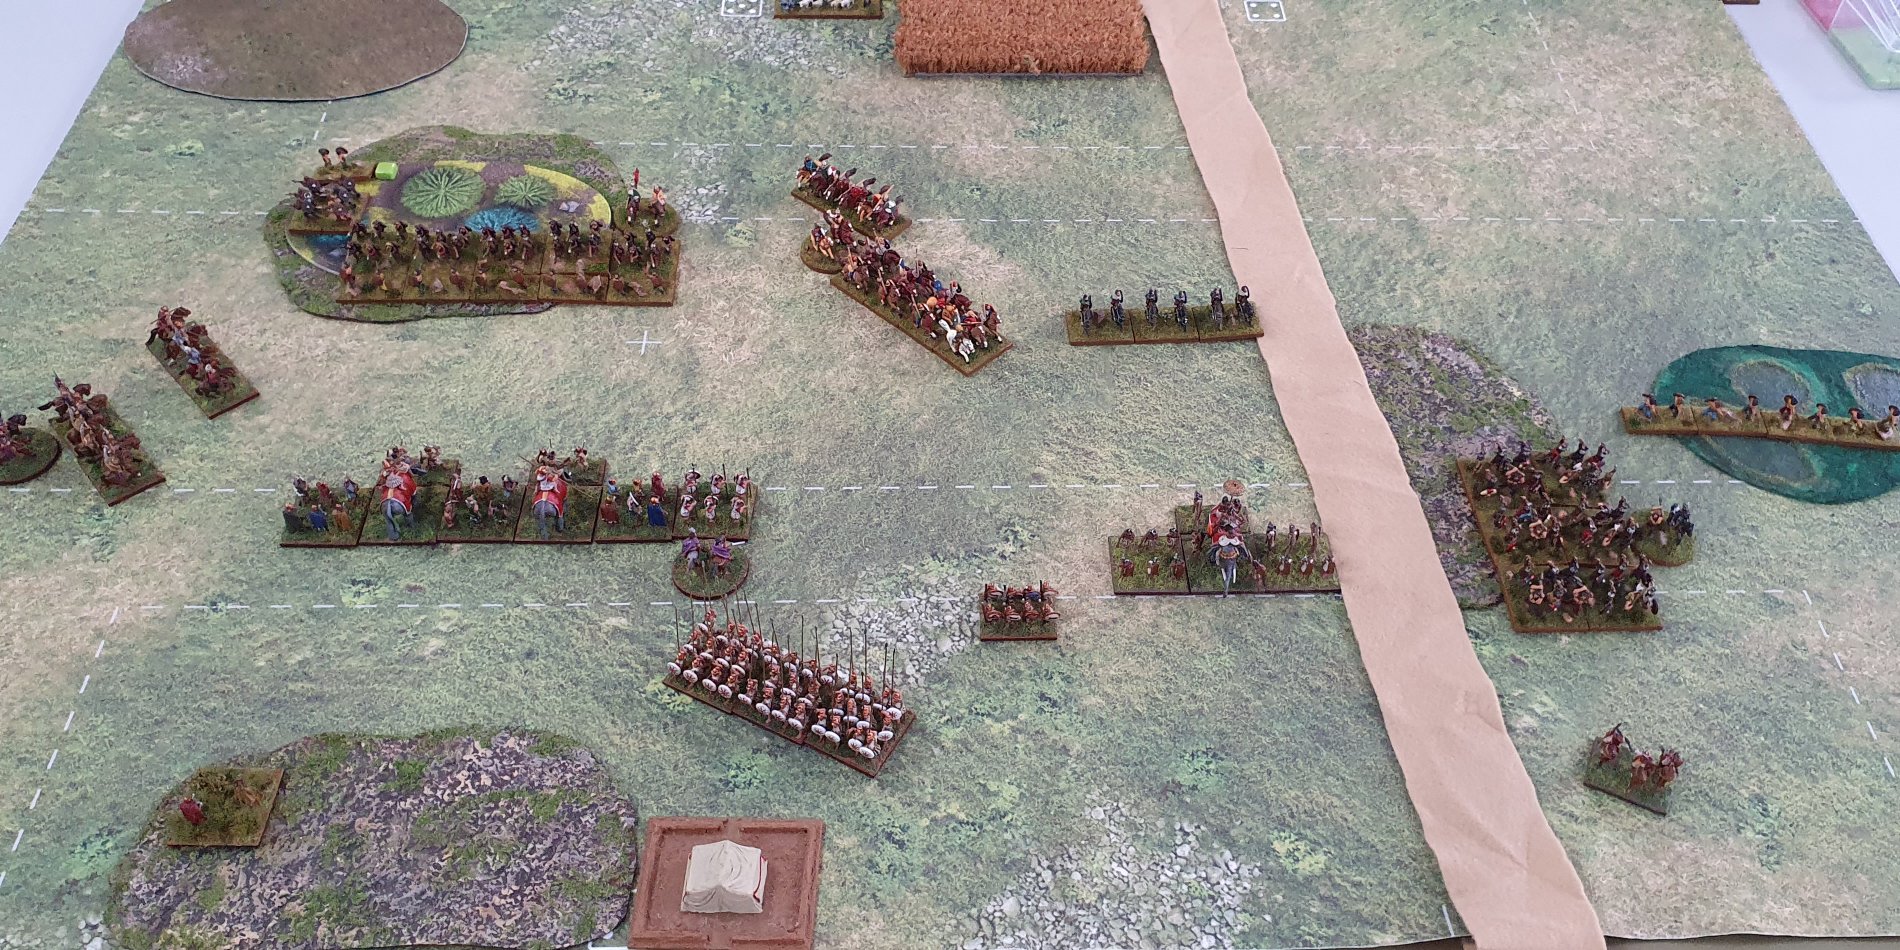
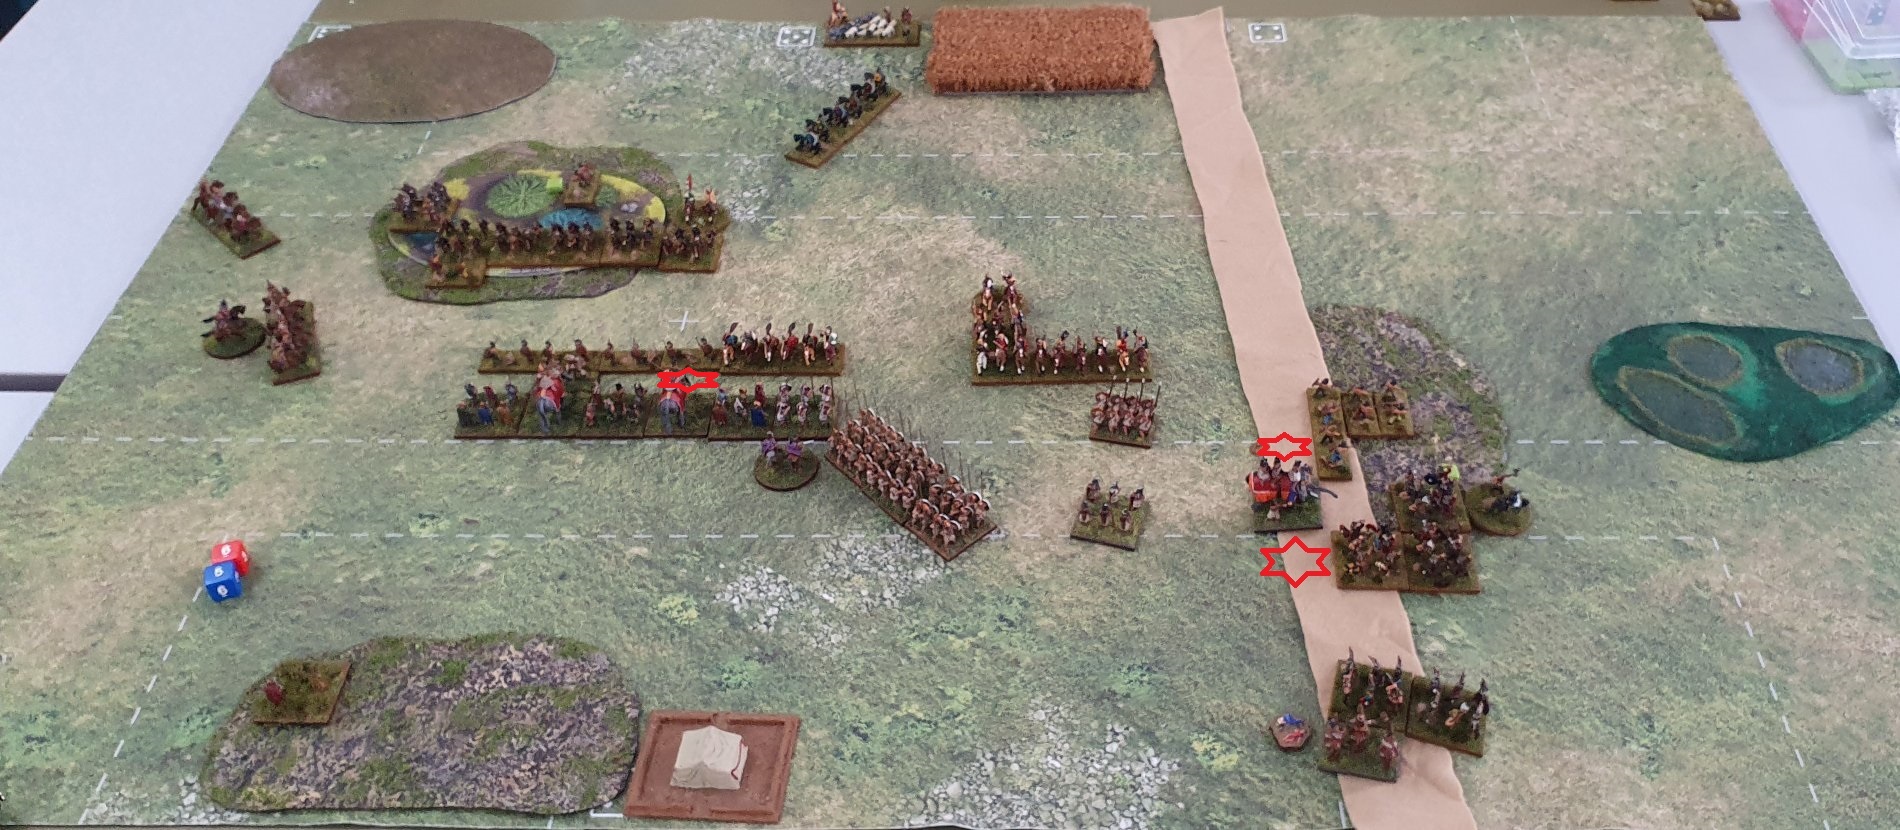
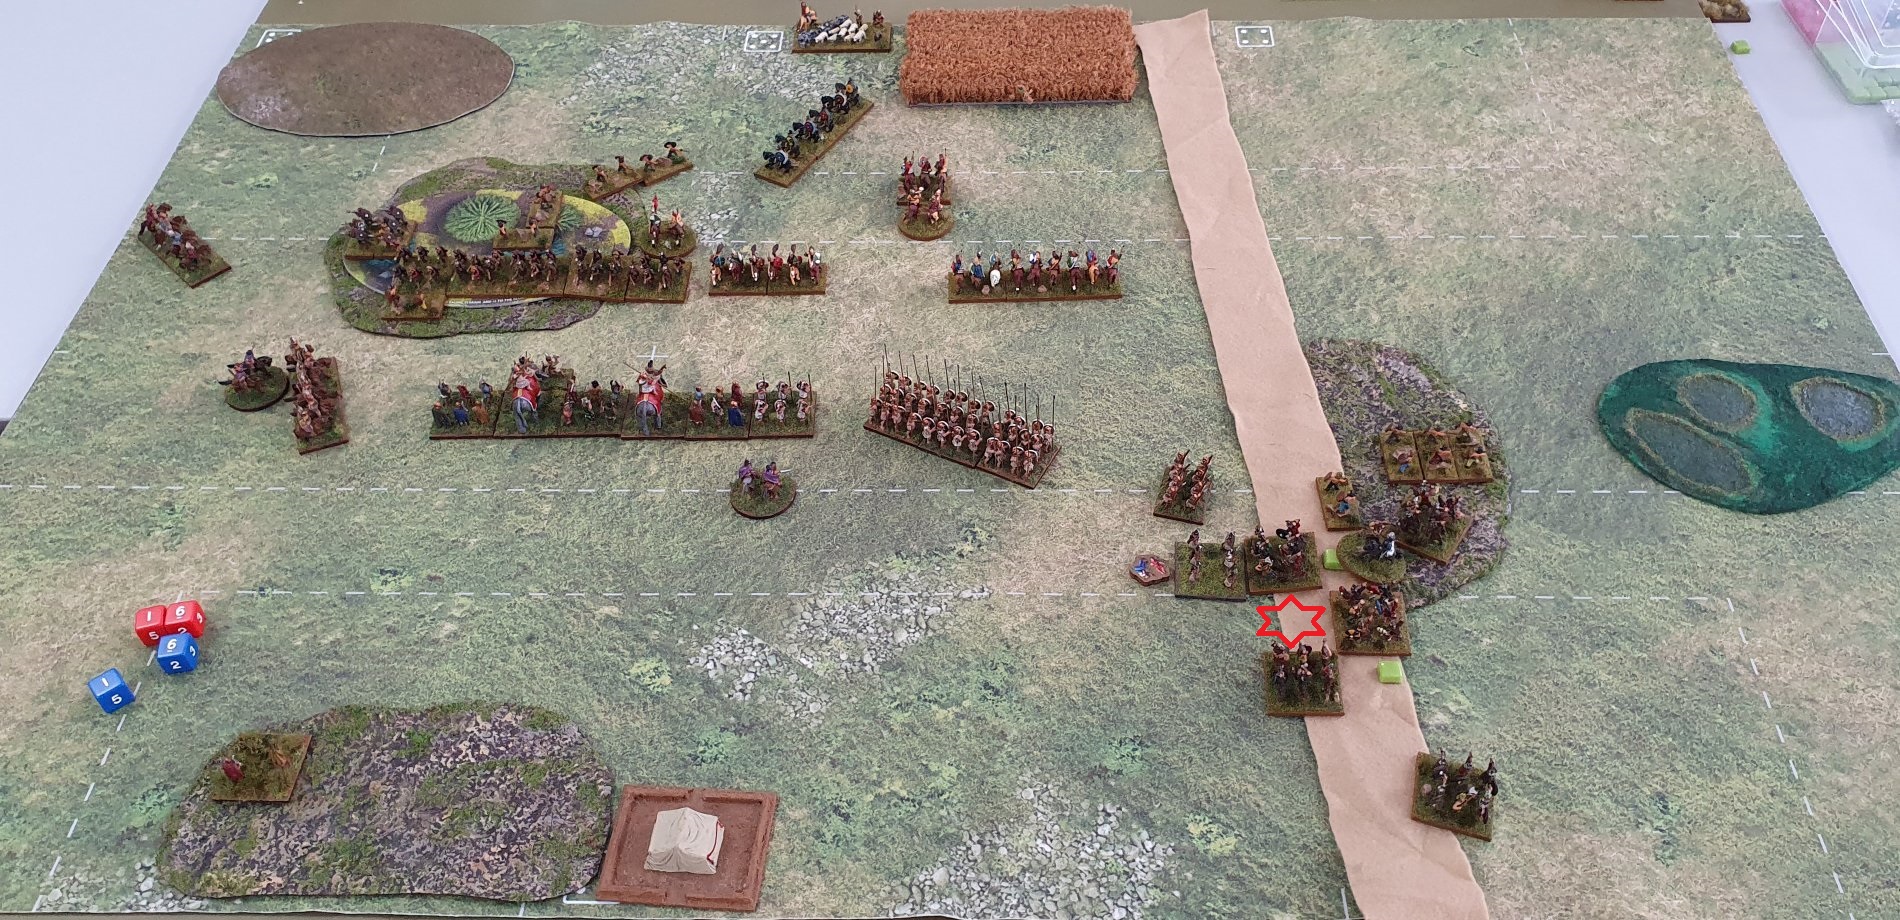
End of Welsh Turn Five
Two units of Irish MI 2HW moved broke off to chase after my Indian medium cavalry. The rest of the MI 2HW turned to threaten the Indian battle line.
In the centre, the Welsh medium cavalry expanded from column to line and the two heavy cavalry moved up between them and the Welsh medium infantry in the wood. The Welsh light horse moved back to protect their camp from my light horse.
The Welsh infantry in the wood stayed put and rallied off the wound on the light infantry.
End of Alexandrian Turn Five
In the centre the elephant and medium infantry command moved forward 1UD and slid right to line up with the Welsh heavy cavalry. The pikes also moved forward and slid so as to line up with the rest of the battleline. The Companion heavy cavalry moved forward slightly so it could still protect the flank of the main battle line.
The Indians decided to get stuck in to the pesky Welsh. The Indian medium infantry turned and charged the left hand unit of Irish. The elephant wheeled and charged the second unit. The light infantry moved up to support he elephant. In the resulting melee the elephant routed the opposing medium infantry, which also disrupted the unit behind it. The medium infantry took two hits from the Irish.
My medium cavalry decided to stay where it was. It didn't want to charge in as the factors in the first round would be +2 vs +2, but mediocre vs elite with 2HW. It didn't want to evade off the board yet, because that would allow the medium infantry freedom of movement in their turn.
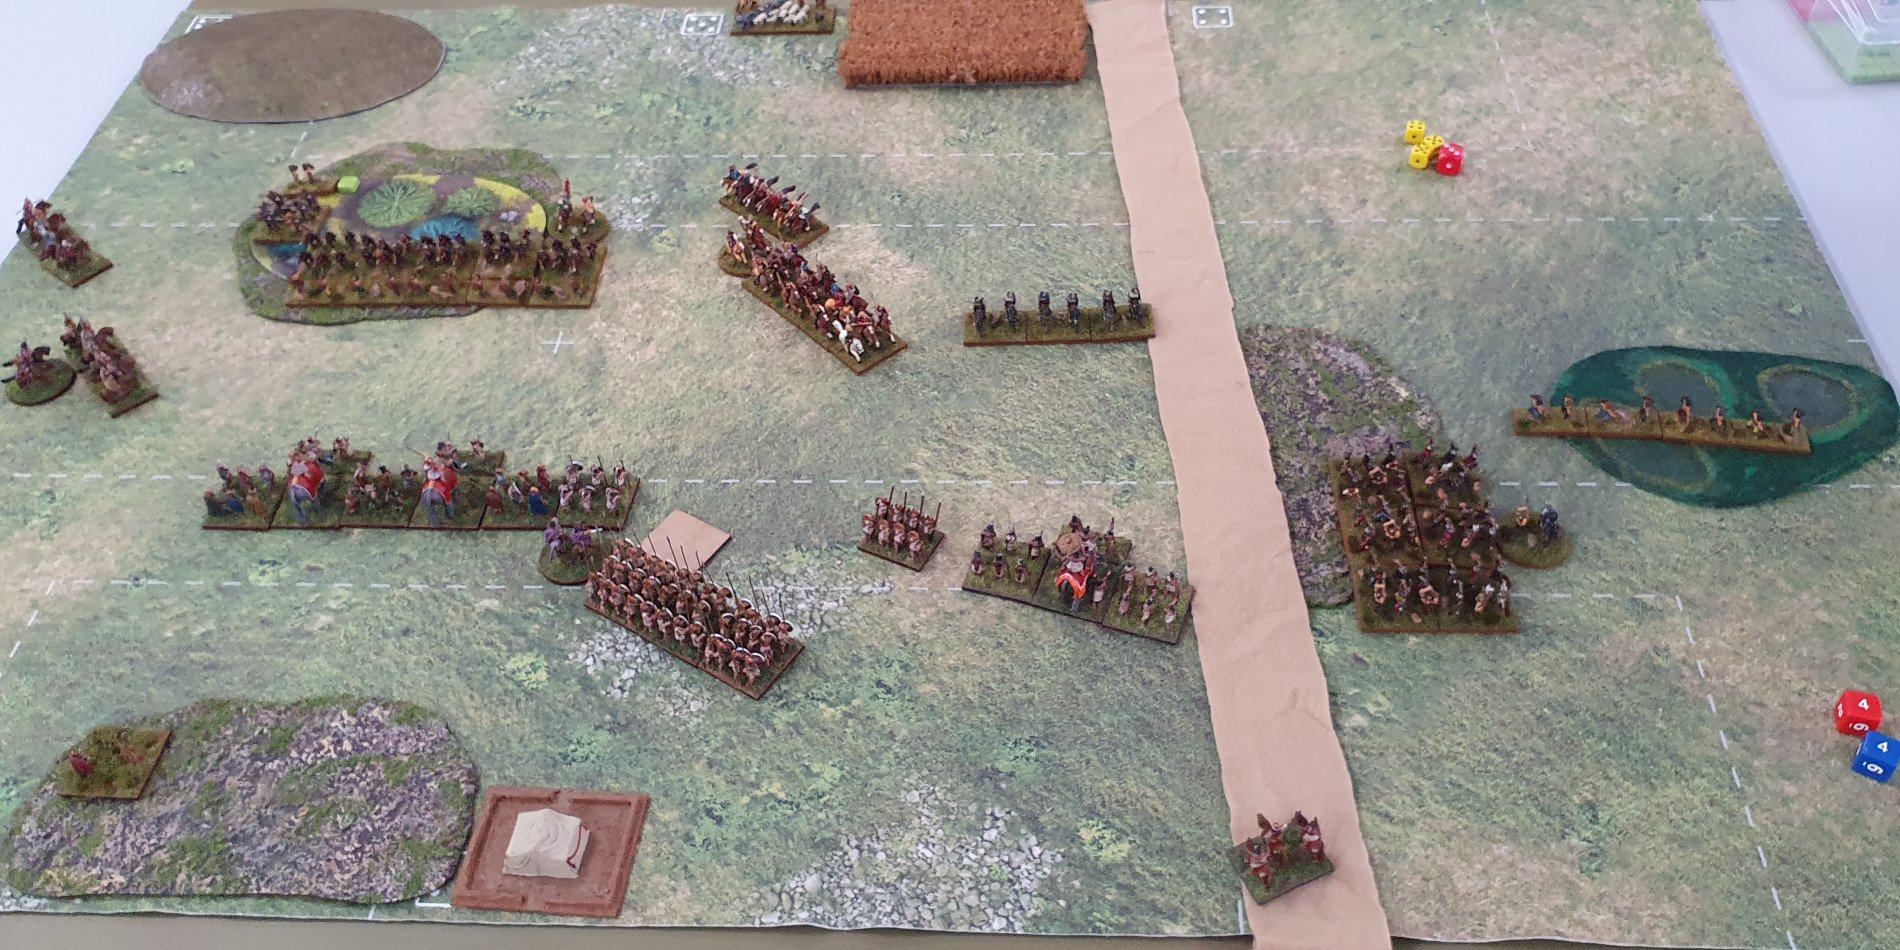
End of Welsh Turn Six
In turn six, the four Welsh light infantry units in the wood moved up to attack my light infantry screening my elephants. The Welsh heavy cavalry also moved up to support them. In the resulting combat one of my light infantry was routed.
In the Welsh centre the medium cavalry moved closer to my battle line whilst the light horse continued their move back to protect their camp from my light horse.
The Irish light infantry moved up to engage the light infantry supporting the elephant. In the resulting fight both LI had supporting friends, but the Irish had javelins so +1 in the first round of melee. The Indian light infantry was routed. The disrupted unit of Indian MI next to the elephant was also routed.
The elite Irish MI also charged my Indian mediocre cavalry. In my mind my options were to either evade, or to stay and fight the first round in the hope that the dice would let me inflict a hit and then disengage if I needed to. I decided to stay and fight. After the game I calculated the probabilities for mediocre MC in first round vs supported elite MI with 2HW.
3/36 Indians take 3 wounds
11/36 Indians take 2 wounds
8/36 Indians take 1 wound
6/36 draw
8/36 Indians win
The Indian medium cavalry took 2 wounds, which was the most likely outcome. However still only 1 cohesion point lost, the same as if I had evaded off the board.
End of Alexandrian Turn Six
In the centre I performed spontaneous charges unit by unit of my MI and elephants starting from the right most unit. The Welsh heavy cavalry stood against the MI charge but the unengaged Welsh light infantry fled. The engaged Welsh light infantry unit was fighting at two points down in the resulting combat and fled. The pikes moved up to towards the Welsh medium cavalry. My cavalry corps on the left had the Companion heavy cavalry move forward slightly.
With the Indians, the elephant conformed against the Irish medium infantry and inflicted a hit. My medium cavalry were planning on disengaging, when I read the rules and realised you can't disengage within 1UD of the board edge. They were chopped down by the Irish.
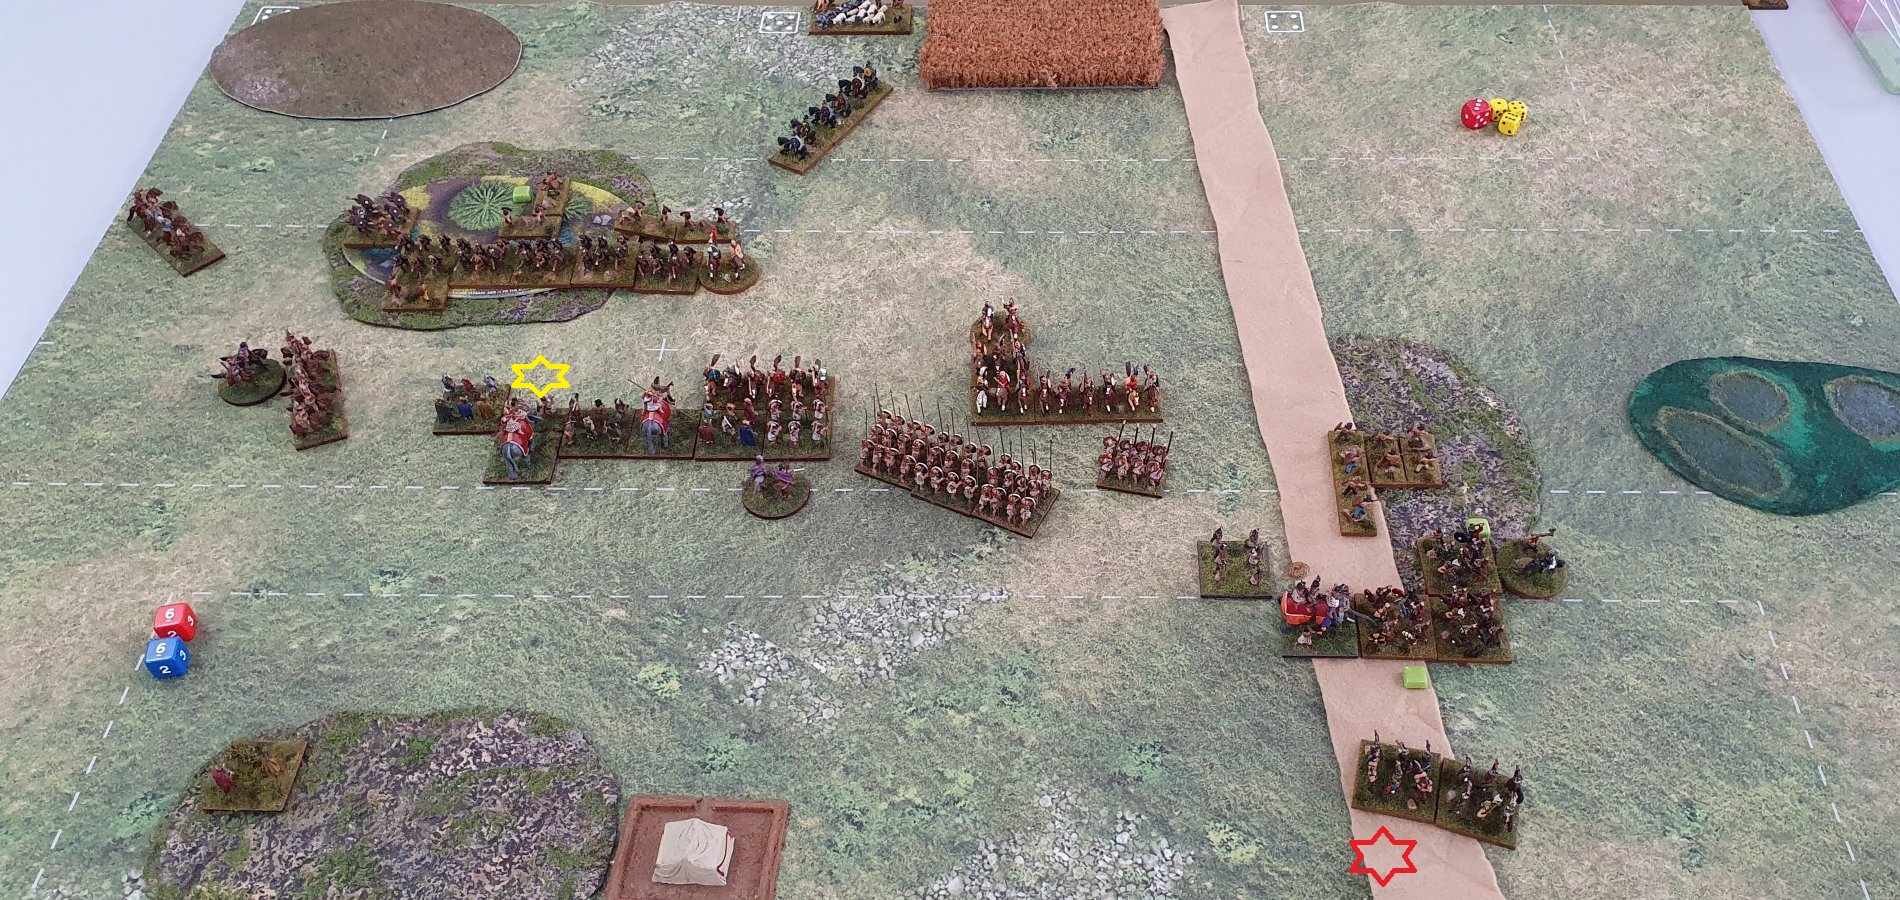
End of Welsh Turn Seven
In turn seven, the Welsh infantry did some minor repositioning of units to the rear. The Welsh heavy cavalry disengaged and the Welsh medium cavalry moved the unit attached to the general. The Irish attacked my unengaged Indian MI and moved units to flank my elephant.
End of Alexandrian Turn Seven
In my turn seven the medium infantry and elephants moved forward to align with the left most unit. The pikes charged as a group against the Welsh medium cavalry, which evaded. The hoplites drove off the Irish light infantry, and my Indian elephant routed.
At this stage I had lost 14 (23) army cohesion points and Jason had lost 6 (31) army cohesion points. We had been playing for about 3 hours and it didn't look like we'd get a result soon so we called it a draw.
Post game comments and lessons learnt
In retrospect the draw was a result of the flank march rolling a six on turn one. Jason was planning to try and use his superior numbers to engage me frontally and envelope my flank with his medium swordsmen, but once we knew the flank march was coming on the Welsh medium swordsmen stayed in the woods. Fair enough, he didn't want to fight in the open with my Companions to attack his flank and I didn't want to take my pikes or elephants into the wood.
If I had been more successful in the terrain adjustment phase, the game might have gone more my way. If I had succeeded in the flank march in turn two or three it might have caught the Welsh in the open. If the flank march hadn't come one at all then Jason might have succeeded in enveloping me.
With respect to the terrain adjustment, I think the second piece that I tried to adjust (but was unsuccessful) was the gully near my deployment zone that I put the road through. In the game though that did not cause me nearly as much bother as the wood that the Welsh foot hid in for most of the game. I probably need to think about turns 3/4 when adjusting terrain rather than just turns 1/2. At least the brush and road I put down did not hinder me, although the compulsory steep hill did restrict the options for my flank march. However I am not sure where else I could have put it, given what I rolled.
In terms of deployment I learnt a valuable lesson about putting non-light troops in ambush. Make sure you have considered the command range of your general!
I flank marched the cavalry corps because as the Welsh were the attackers I expected they would be keen to come to grips and I wanted to be able to get behind them.
I failed to get my expensive pike units into combat. However if I had been more aggressive in moving them up I would have risked exposing my flanks to the enemy infantry in the terrain.
With respect to the rules, I learnt that you can't disengage within 1UD of the enemy. If faced with a disadvantageous match up it would be better to evade off the board at the charge rather than stay and fight.
In terms of my army composition:
-
I felt that I was a bit light on with respect to my light infantry.
-
The Indian general didn't have enough command pips to do what he wanted. Also I still have not been able to work out what to do with a single unit of medium cavalry in an infantry corps. This is after 3 games with a unit of Greek MC in the strategist's crops and 2 games with a unit of MC in the Indian allied crops.
-
The strategist's corps with both the elephants and pike, which I split into two groups worked okay and I had enough command pips.
-
The mini cavalry corps with just four units is small enough that I can place it in ambush, or use it in a flank march and not be missing too much of my army. It certainly proved useful this game in terms of the threat it posed even though it didn't get into combat. It has been ineffective in my previous games when it was effectively part of my battle line.