Alexander the Great vs Patrician Romans
Pregame
My first tournament game. I was using the same list that I tried out last week. The first round was organised by date of the army list and I found that I was facing Neil Rowe with a Patrician Roman list. I'd not met Neil before.
Army lists
My Alexander the Great list
Neil's Patrician Roman list was

The Game
Neil won initiative and chose to defend in the plains.
Neil chose the mandatory field, two plantations and a hill with a plantation. I selected two fields. During the terrain adjustment the hill was moved to just past the halfway point which allowed Neil to place an ambush in it.

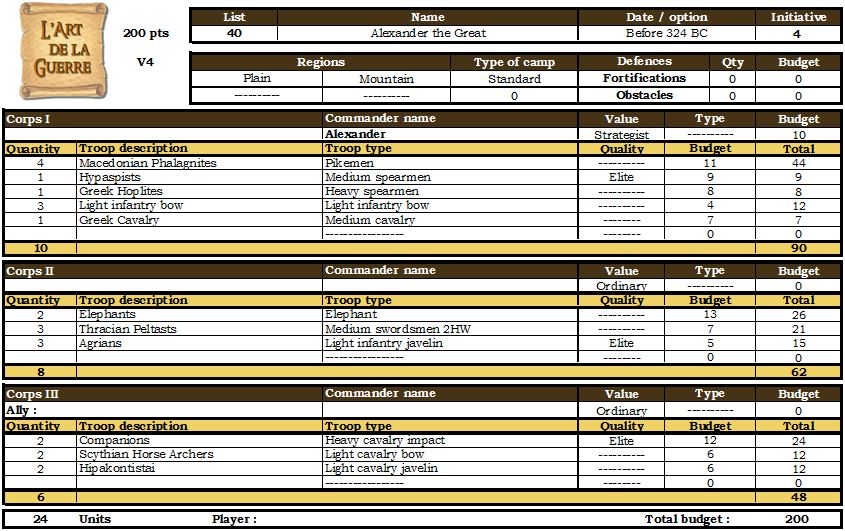
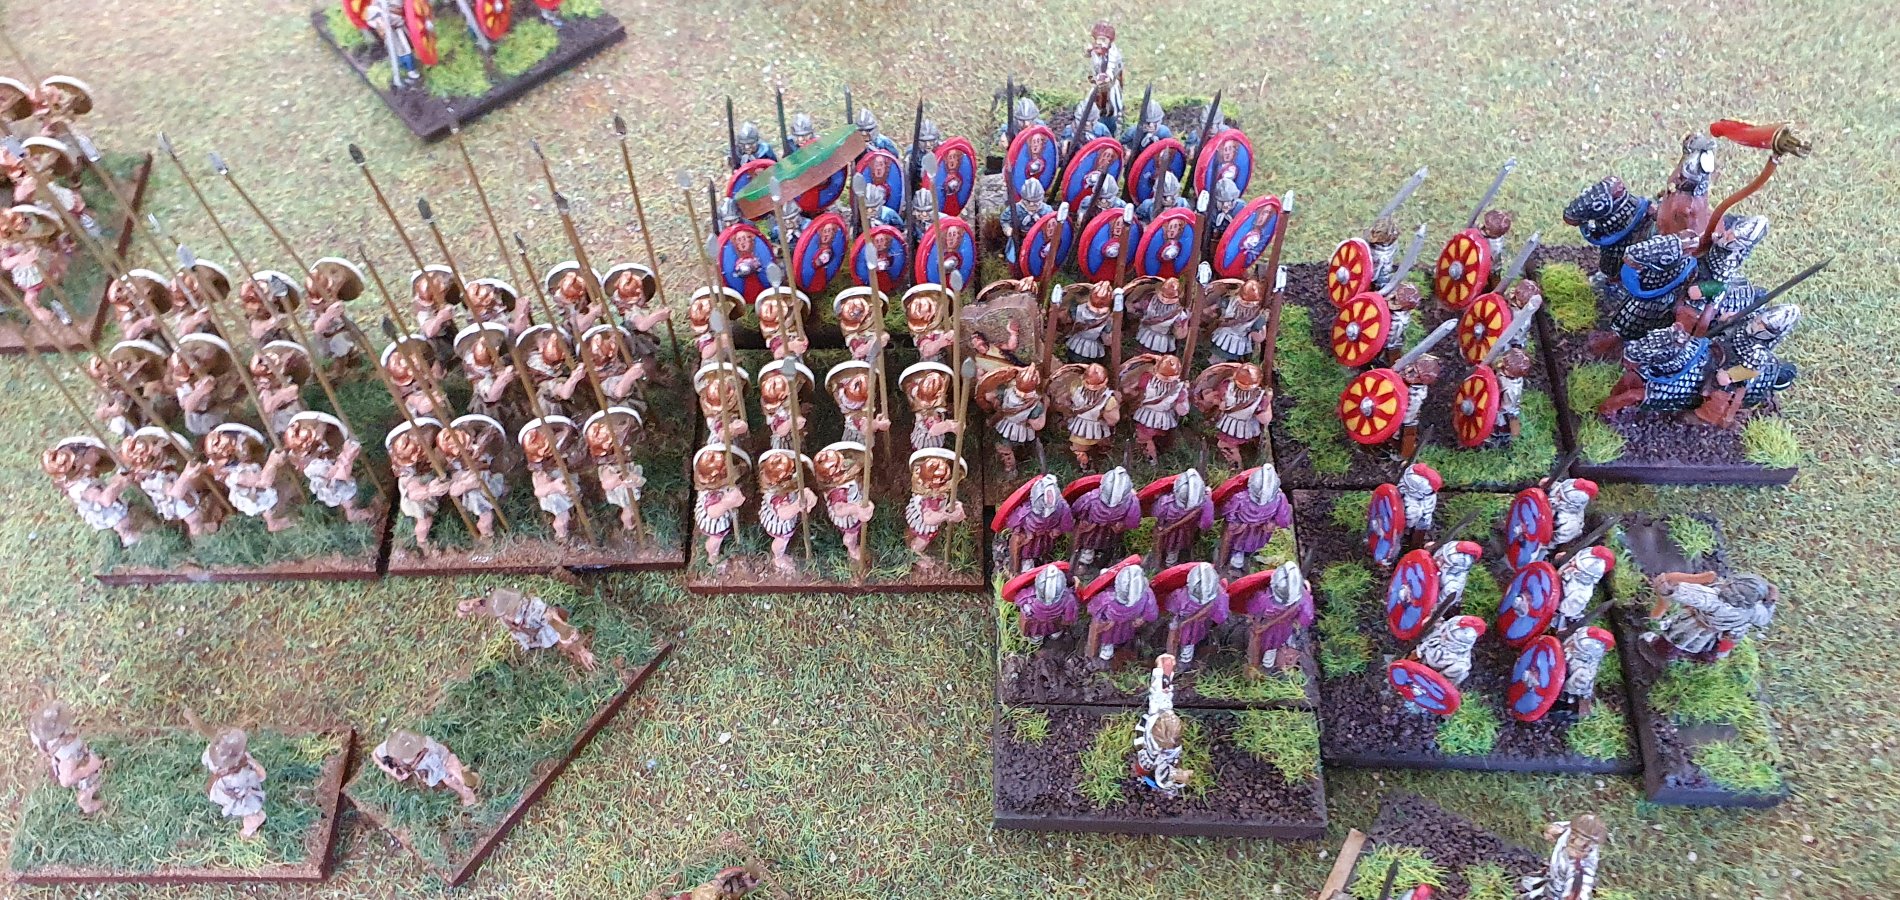
Initial Deployment
My plan was to move the elephant corps up through the fields, the pikes adjacent to the field and to have the cavalry defend the flanks of the pikes. I was fairly happy with the deployment, though obviously unsure of what was in the Roman ambushes. My three ambushes were all dummy ambushes.

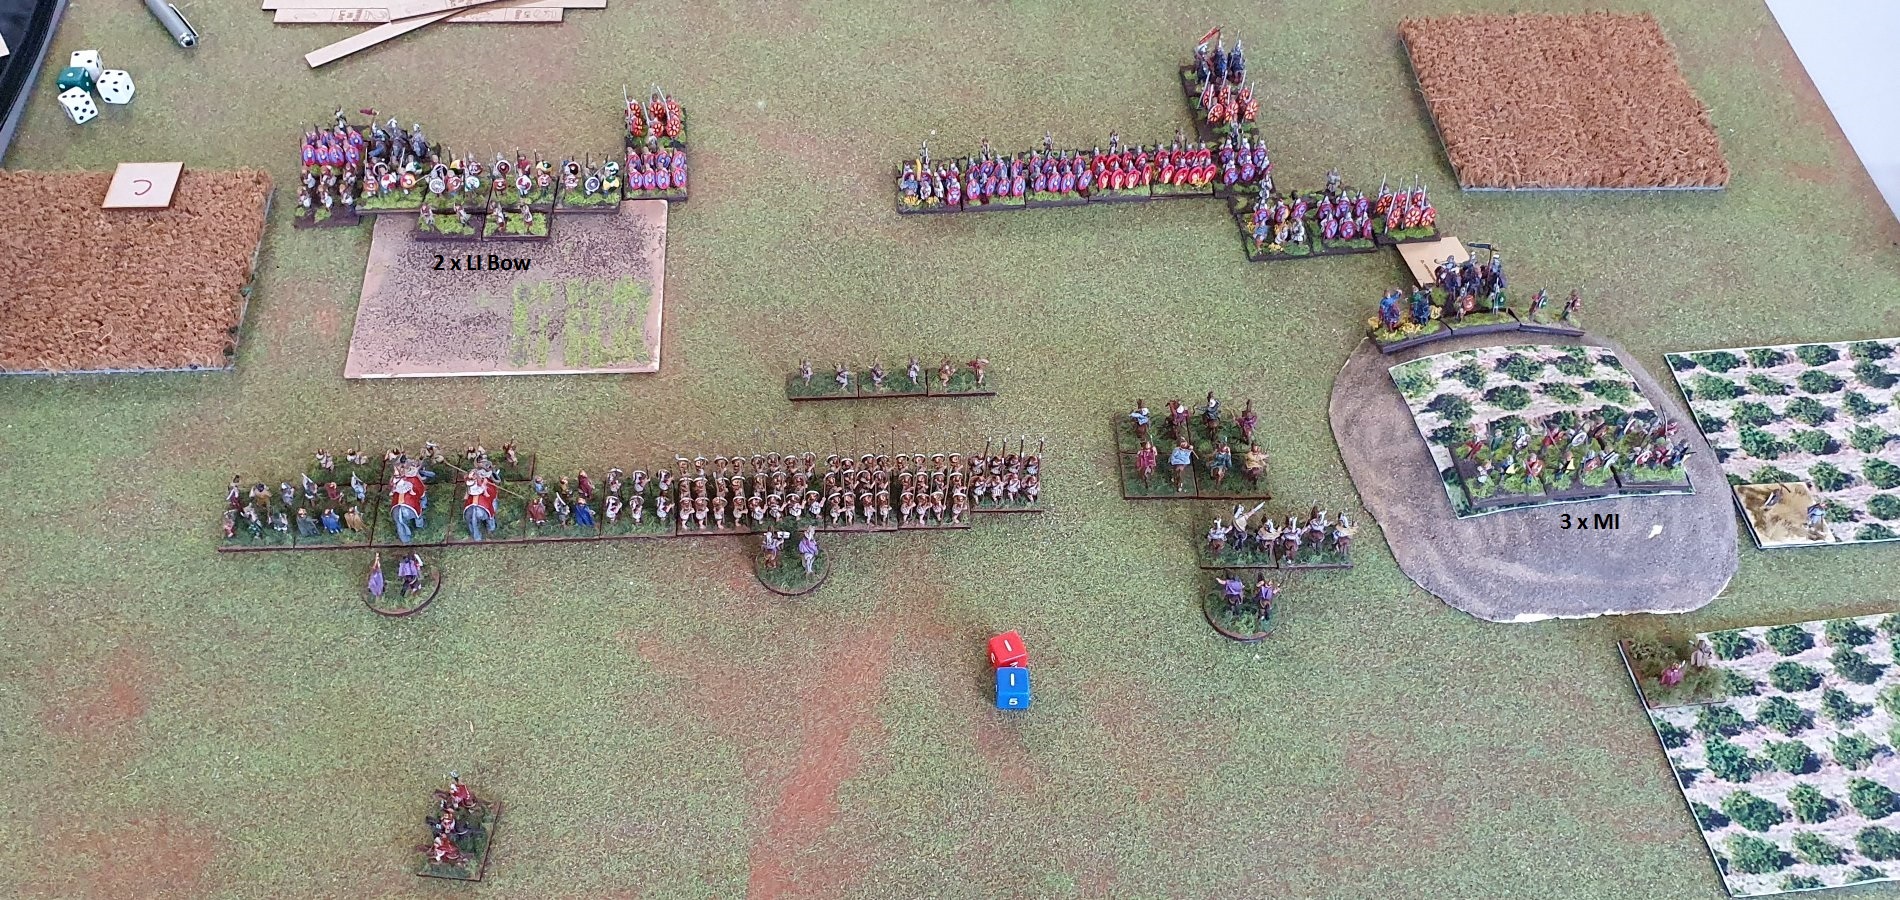
End of Alexandrian Turn One
In my first turn I moved forward the main battle line two moves. I only threw a 1 for command pips for the cavalry corps, which meant I moved the light horse as a single group. This was a problem as the front rank was the LH bow and the rear rank was LH javelin. Because they are different weapon types only the front rank would be able to shoot if the enemy moved into range.
The medium cavalry from the central corps moved across towards the left flank.
End of Roman Turn One
Neil moved his corps on the right flank to move his medium swordsmen into the field. The two light infantry bow came out of ambush. In the centre he moved forward and slid to the left. Although I didn't think of it in those terms at the the time, Neil was obviously moving to refuse his centre and limit the targets for my pikes.
On his left flank he revealed four medium infantry swordsmen in ambush. However he could only fit three in the terrain, so we (incorrectly) played that as the fourth unit couldn't fit in the ambush it couldn't be deployed. This unit of three MI then moved forward through the plantation on the hill. He moved the LH and LI onto the hill and the rest of his left flank corps forward.
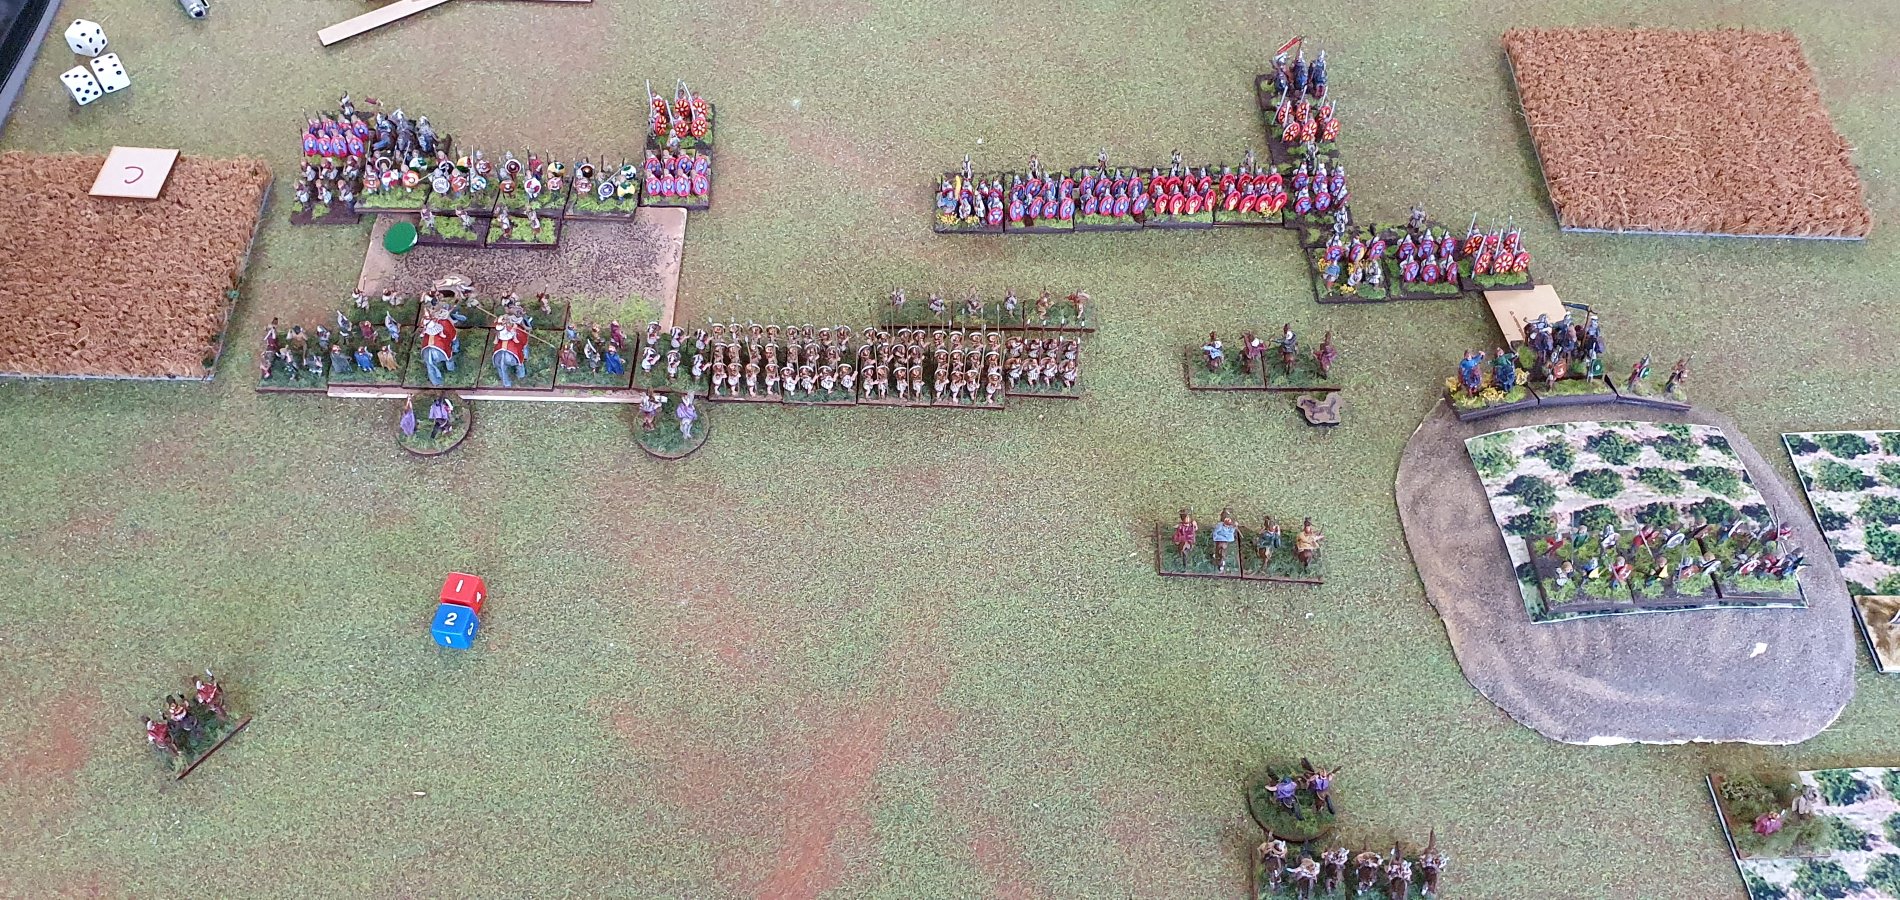
End of Alexandrian Turn Two
The elephant corps moved up into the field, and the pikes corps moved up to maintain alignment. The medium cavalry kept moving towards the left flank.
The light horse bow moved up to shoot and the Companion heavy cavalry moved back so that it would not be exposed to a flank charge from the MI in the plantation on the hill.

End of Roman Turn Two
Neil charged his right flank corps so as to have two units of his impetuous MI charging my line, and his light infantry engaging my light foot guarding the elephants. In the resulting melee one of his light infantry was destroyed. In the centre he moved part of his corps to align with the end of my battle line, with additional units in a position to turn my flank.
On his left flank he moved his light horse to stop one of my light horse from evading and then charged it with his infantry. My light horse routed in the resulting melee. He also moved a unit of light infantry up to protect the flank of his light horse.

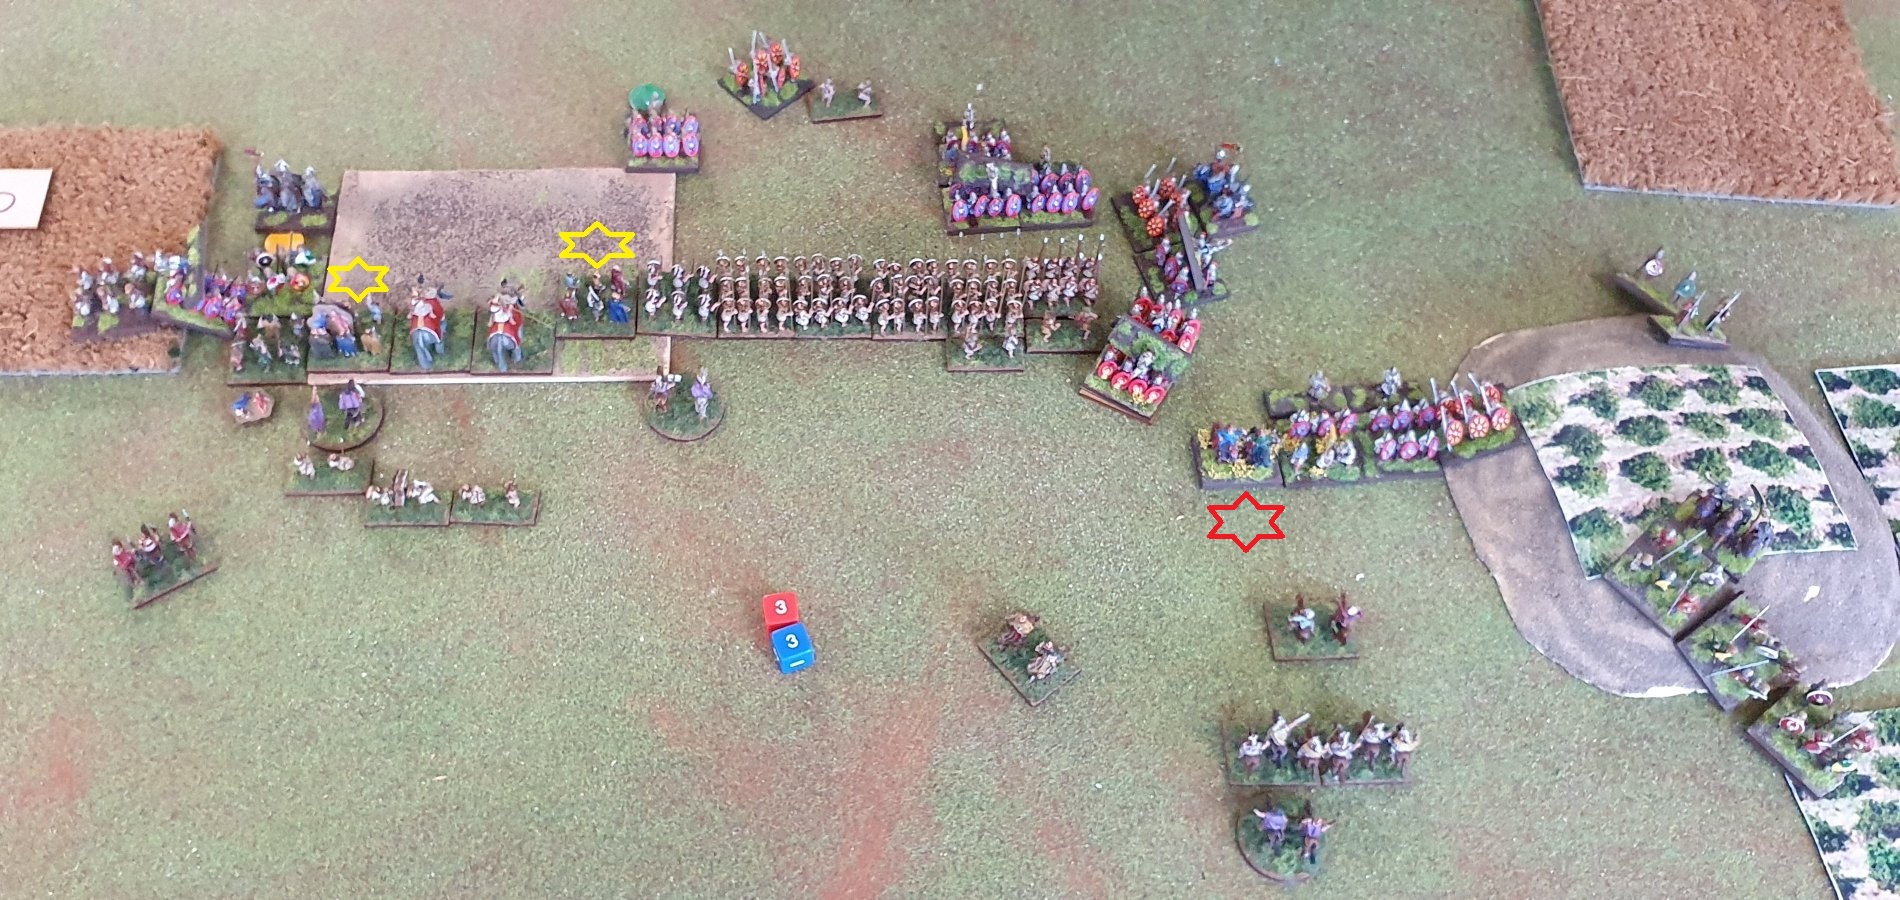
End of Alexandrian Turn Three
On my left flank I moved up to engage his MI unit that was supporting his light infantry. I moved up the pike group as well to support my unit. In retrospect this was a mistake - I should only have moved up a single unit rather than the whole group. Moving the whole group meant that I was going to be more easily flanked. His light infantry unit was destroyed in the melee.
On my right flank my LH Bow evaded out of the ZOC from the Roman heavy infantry, whilst one unit of LH javelin drove off the light infantry. I also moved my Companion heavy cavalry forward 1UD and slid towards the centre.
End of Roman Turn Three
In the centre, Neil moved to envelop the end of the pike corps. On his left flank his light horse charged one of my light horse, which stood to fight. He then moved his infantry up to support his light horse, and my light horse was routed in the melee. He also charged with his infantry my other unit of light horse, which evaded.
In the melee in the field my units were able to dispatch two units of enemy medium swordsmen.

End of Alexandrian Turn Four
My centre was in trouble, so I decided to take the combat to the Romans rather than wait to be outmanoeuvred. To try and prevent a flank attack I charged one unit of Companion heavy cavalry into a unit of HI. They had missile support which would negate my furious charge. I also charged a unit of light infantry into the flank of the heavy swordsmen, which negated the impact ability and the missiile support of the swordsmen. The other unit of Companion heavy cavalry charged the enemy light horse. On the left end of the group I charged the Roman HI behind the field.
On my left flank I was faced with a slightly tricky situation. My left most unit of medium infantry was in a combat against a Roman unit of medium infantry. Both units had taken two hits, and so either could route this turn. If my unit routed, then his heavy infantry which was in edge to edge contact with it could turn and charge the flank of my next unit. My options were either to move my unit forward to be better positioned if there was a draw, or to stay where I was. Given that if I lost I the combat in question I could be charged in the flank anyway I decided to move forward. My thinking was that if it was a drawn combat the unit in melee would block the Romans from attacking my flank, whilst if I won then the ZOC of my winning unit would protect the flank. Even if the unit won it's combat in my turn it was at risk of being attacked in the flank the next turn - but at least having moved the rest of my line up it would not route from a flank attack through the rest of my line.

End of Roman Turn Four
In the Roman turn four the Romans charged into the flank of my disrupted Thracian unit on my left flank. I think that he conformed onto my Thracians and took out the unit and then pursued into a corner to corner contact with my next unit of Thracians, and then conformed onto the flank.
On the right flank of my pike corps, my HI Hoplites were attacked in the front, flank and rear.
My flank enveloped
The Hoplite unit has been disrupted by the charge in the flank/rear whilst fighting to the front. It's factor is -1 whilst the Romans are +5. However the dice result was 6-1 in my favour and so the Hoplites just took a single extra hit.
At the end of turn four we had about 18 (+2D6) minutes left. We thus raced through turns five and six, and I did not take any photos.
The photo below is at the end of the game and it looks like we are about to pack up.

End of Game, after Roman Turn Six
The game finished at the end of the Roman turn six. Final score was a draw with Alexandrian losses 19 (24) - Roman losses 27 (28)
Post game comments and lessons learnt
An enjoyable game. For someone who regularly takes 5 hours (including lunch) for a game that goes to turn six, it was amazing how we got through the last two player turns in about 7 minutes.
The game could be summarised as my elephant corps winning on the left flank, my pikes only get partly engaged and the corps having its flank turned, and my cavalry corps not being able to successfully defend my right flank in face of overwhelming numbers.
Kudos to Neil for avoiding the full force of the pike corps and being able to envelop the flank of it. Neil's left flank was actually down two units, one that didn't fit in the ambush and one that he just forgot to deploy. However I like to think that if they had been on the board it wouldn't had made a large difference to the result.
With respect to his ambush in the plantation on the hill, he couldn't fit all four units in cover and on his half of the board, so he removed one unit. The way we should have played it is that the unit get placed by the opponent on the owning players long board edge.
In terms of my army composition, the elephant corps were effective but the corps would probably have worked just as well with MI rather than elephants in it. The elephants were intended to be able to handle medieval knights (both mounted and on foot) whilst the Romans had only one mounted unit and no armoured units. The pikes were only partially successful in getting into combat. I also need to better guard my flanks.